Free Crochet Pumpkin Potholder Pattern Overview
This is a pattern overview, not a full tutorial. The Crochet Pumpkin Halloween Potholder Pattern from Craft Drawer is a beginner-friendly fall project, and the source notes that one or an entire set can be made in an evening. The finished pieces are presented as a creative way to decorate a kitchen, so think of them as seasonal accents you can tuck into a basket, hang near the stove, or set out with other autumn linens.
Because the source frames this as decor first, the practical details matter more than speed. Read through the whole design before you begin, choose your yarn based on how the potholder will actually be used, and keep the original page open beside you for the round-by-round instructions.
Crochet Pumpkin Potholder Pattern Overview
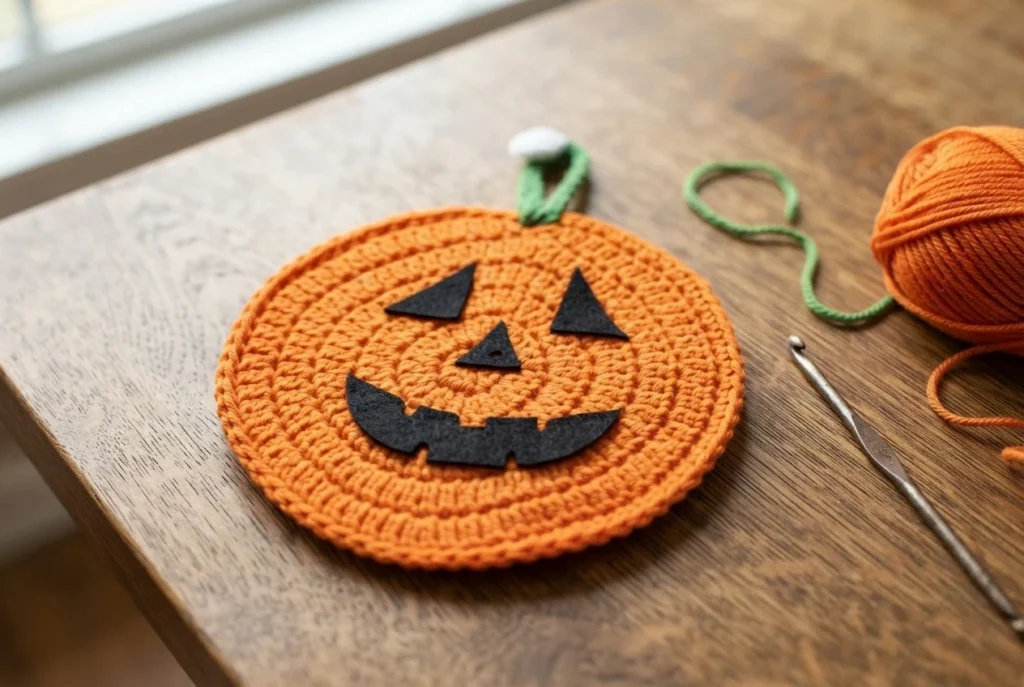
The source is clear that this pattern is for decoration. If you want to use the finished piece as a potholder, the designer says to use cotton yarn and not to use felt for the face. Worsted weight yarn is what the pattern calls for, but the source notes it is not suggested for use with heat, and worsted weight may not work well with hot items.
Skill level is listed as Easy (Advanced Beginner). Here is the complete supply checklist exactly as the source lists it:
- Worsted weight or cotton yarn: Orange 70 yds, Green 5 yds
- Crochet hook size G or 4.00 mm
- Black felt 5″ x 5″, or black yarn to sew on eyes and mouth
- Yarn needle
- Scissors
- A short piece of yarn or a marker to note the right side
The source also lists these stitches and abbreviations: ch (chain), sc (single crochet), dc (double crochet), mr (magic ring), and sl st (slip stitch). A free PDF version is offered on the original page, so keep the free web pattern and the PDF as separate formats rather than assuming every version is identical. Follow the Original designer’s pattern and instructions for the actual rounds.
Start Crocheting the Pattern Overview
The back of the pumpkin begins on the right side with orange yarn and a center worked in double crochet, then grows outward across several increase rounds. The source notes that chain 3 counts as the first double crochet now and throughout, and it suggests looping a short piece of yarn around any stitch to mark the last round as the right side. The final round shifts into a mix of single crochet, slip stitch, and double crochet to shape the top of the pumpkin.
This overview deliberately does not reproduce the row-by-row pattern. The source numbers each round and its stitch totals, so work directly from the designer’s page rather than from a summary. If any instruction feels ambiguous, return to the original instead of guessing at a correction.
Front of Pumpkin
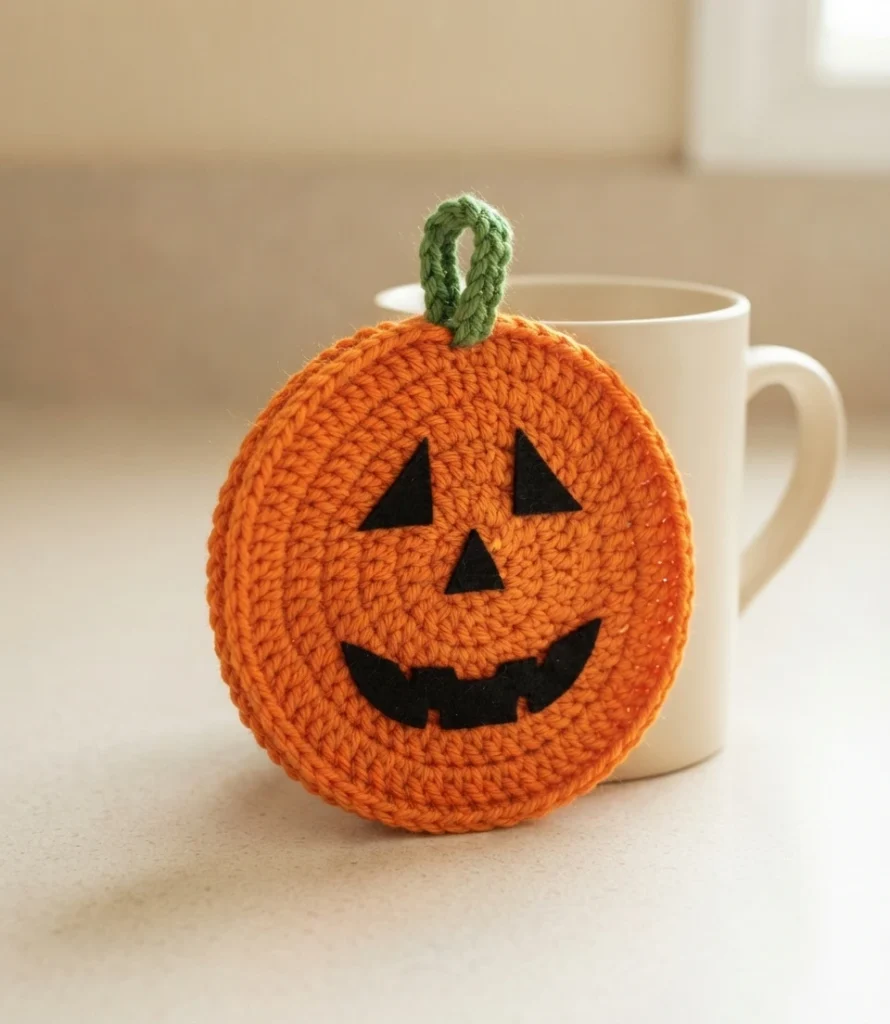
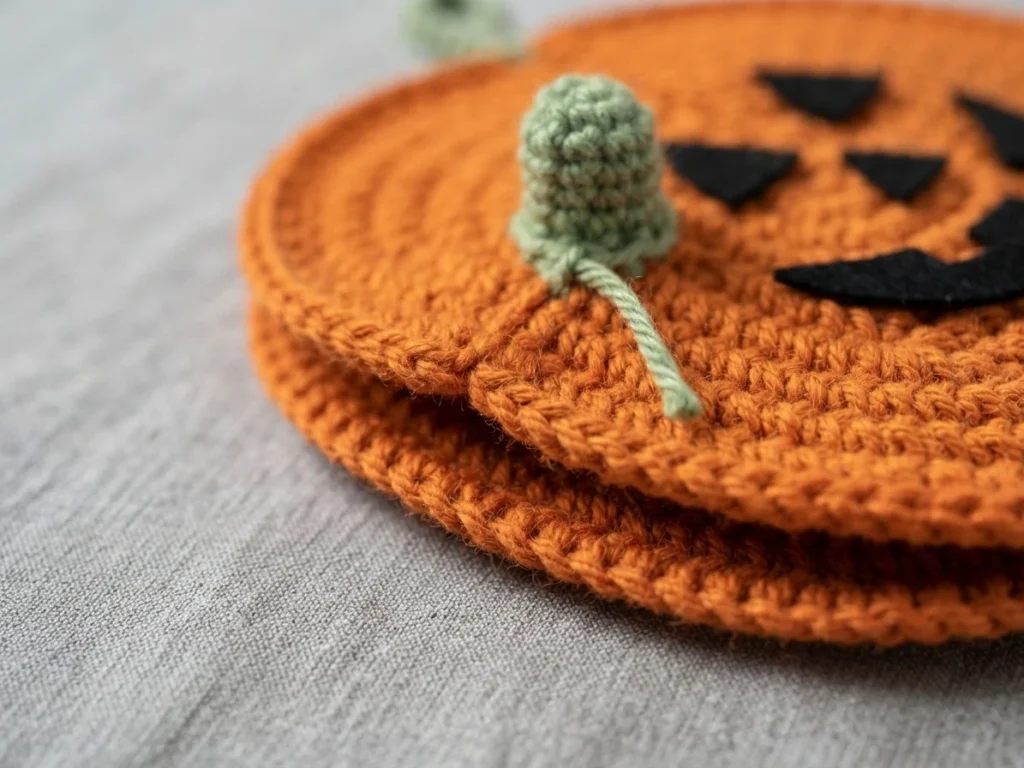
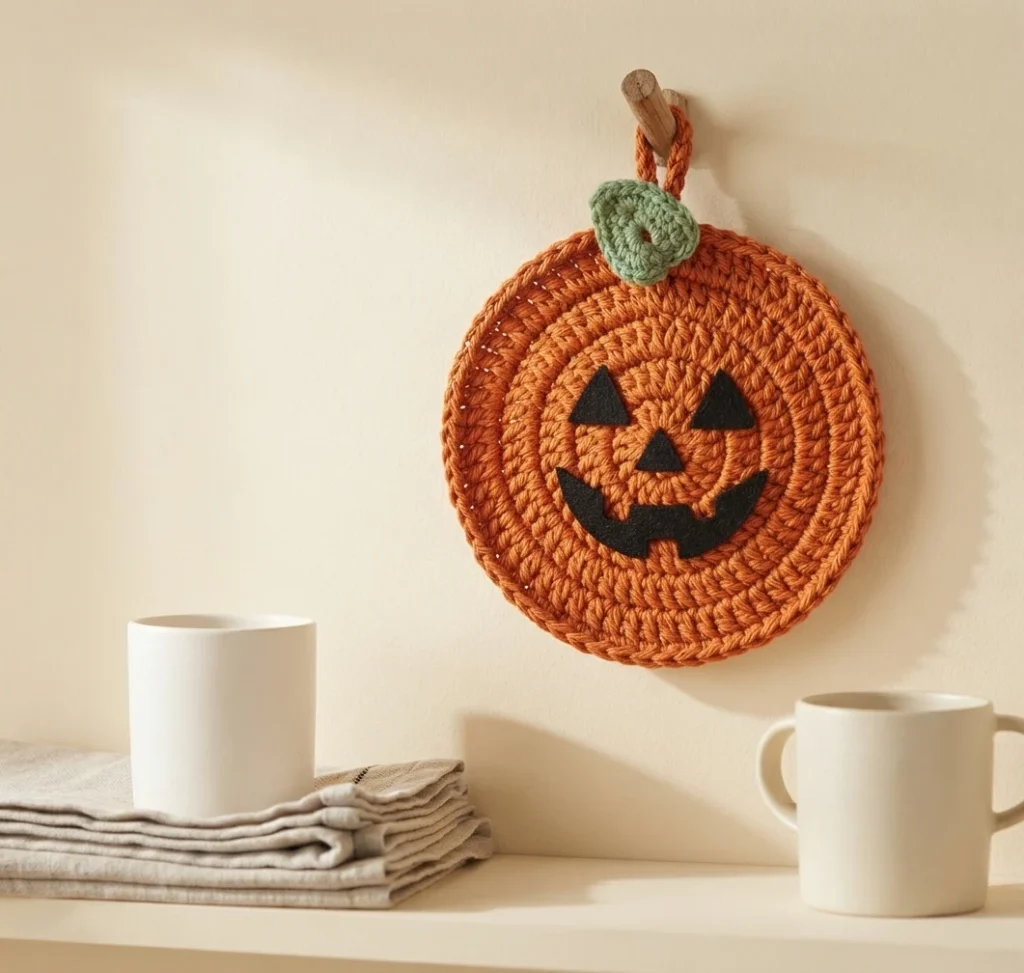
The front is worked the same as the back, but the source says not to finish off. The two pieces are then joined with wrong sides together, front facing, matching stitches, and working through both loops of both pieces: slip stitch in the same stitch and in the next 2 stitches, then single crochet in each double crochet around, joining with a slip stitch to the first stitch before finishing off.
The stem is made in green by chaining 20 loosely, working a double crochet in the fourth chain from the hook and in each chain across, then finishing off and leaving a long end for sewing. The stem is folded in half and the ends are sewn to the top of the pumpkin. The face is cut from black felt and glued to the front with a glue gun, and the source invites you to crochet a face instead if you prefer.
For more autumn inspiration, see the Tapestry Crochet Pumpkin Potholder: Pattern Overview and the Fall Crochet Pattern, Hello Pumpkin Pillow: Pattern Overview.