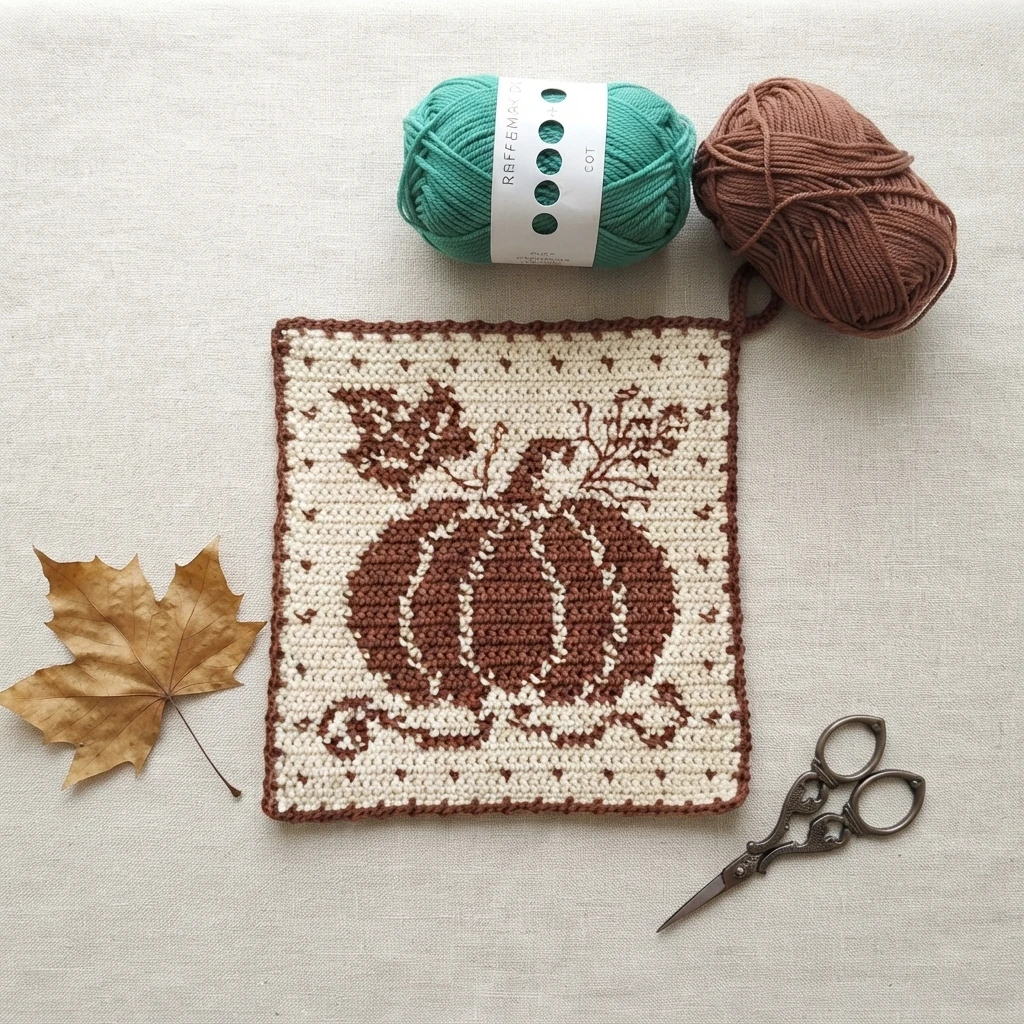
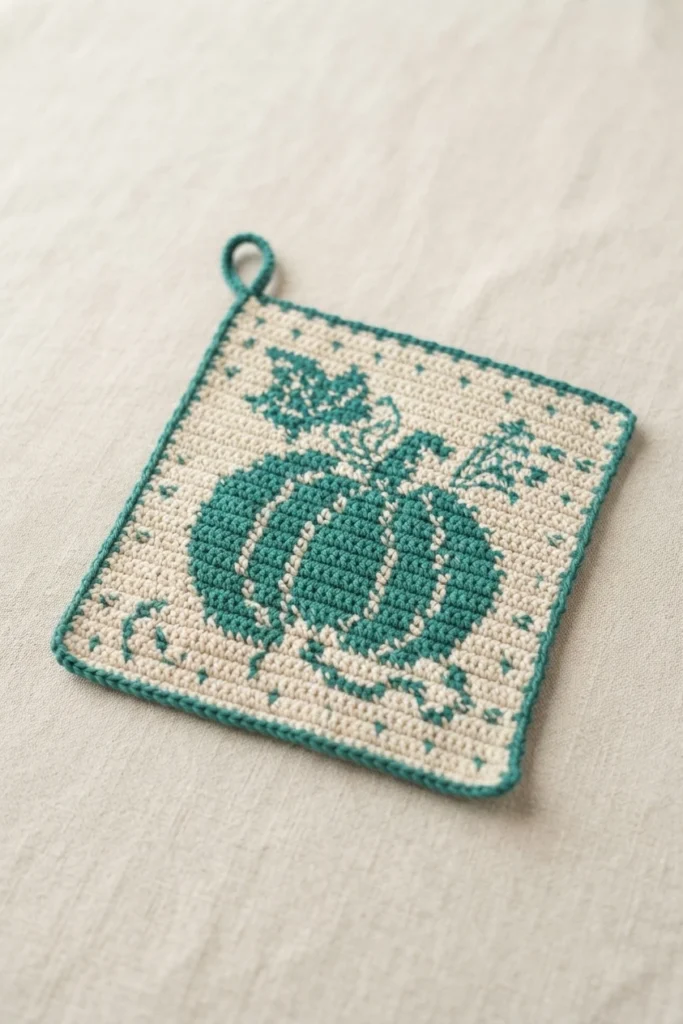
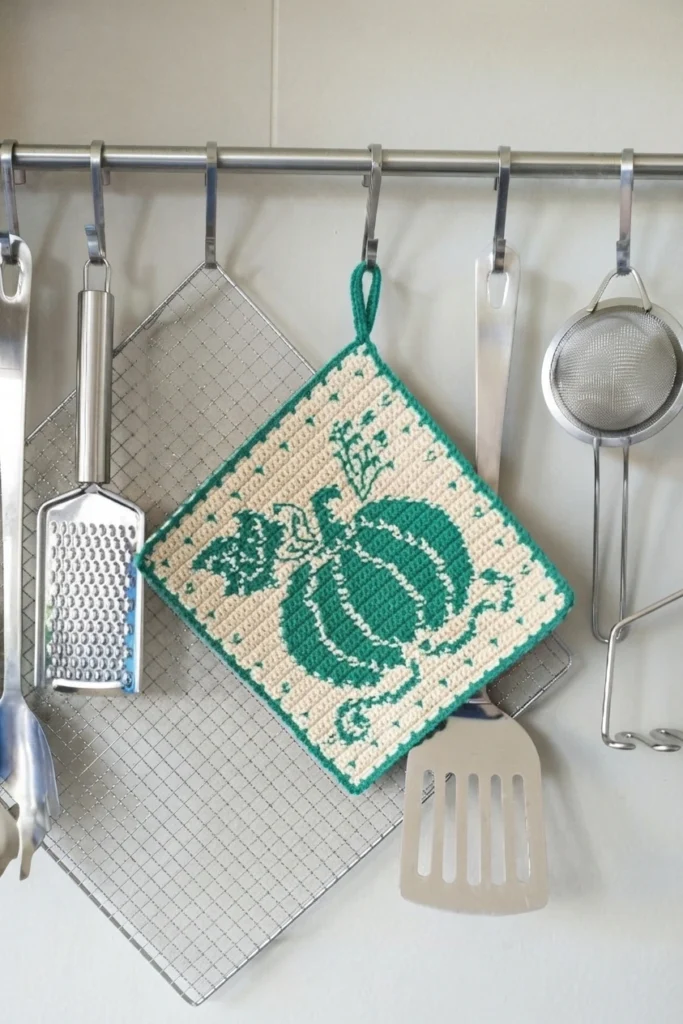
This is a pattern overview, not a full tutorial. Raffamusa Designs’ pumpkin potholder combines a two-color tapestry crochet picture with a textured border and embroidered details. For the complete pattern, charts, and the designer’s exact instructions, begin with the Original designer’s pattern and instructions. The notes below explain what to expect and help you prepare without replacing that source.
Printable PDF Pattern Overview
The designer says an ad-free PDF version is available through Ravelry, LoveCrafts, and Etsy, and that the PDF includes a color chart. A chart can be helpful for following the two-color pumpkin motif, while the written instructions describe how the piece is constructed. Check the designer’s pattern page for current format details and use its original instructions when you are ready to crochet.
Materials
Here is the concise supply checklist given for the project. The listed yarn is cotton DK in two contrasting colors, identified in the pattern as A and B. The source does not list stitch markers, so they are not included here. No additional supplies are assumed.
- 3.0 mm crochet hook, equivalent to US D-3 (UK size 11).
- Paintbox Yarns Cotton DK in two contrasting colors, labeled A and B.
- Tapestry needle.
Yardage
The pattern provides separate amounts for the two colors, rather than a single combined total. Color A is listed at 56.25 m (61.7 yds), and color B at 35 m (38.4 yds). Use these as the designer’s stated estimates and check the linked original pattern for any updates or additional yarn information before choosing substitutions.
Size
The finished potholder is listed as 6.7 in (17 cm) by 7.3 in (18.5 cm). The stated gauge is useful context if you want to compare your fabric with the designer’s specifications. Different tension can affect the finished result, so consult the original gauge information and pattern notes rather than assuming the listed finished size will be identical for every crocheter.
Crochet Abbreviations (US Terms)
The pattern uses US crochet terms. This quick reference gathers its abbreviations so the notation is easier to recognize when reading the designer’s instructions. In particular, Drop St is a named special stitch, while RS and WS identify which face of the fabric is directed toward you. Refer to the original pattern for how each abbreviation is applied within its color chart and written directions.
| Abbreviation | Meaning |
|---|---|
| Ch | Chain |
| Drop St | Drop stitch |
| Hdc | Half double crochet |
| RS / WS | Right side / wrong side |
| Sc | Single crochet |
| Sk | Skip |
| Sl St | Slip stitch |
| St | Stitch |
| Yo | Yarn over |
Special Stitches
Two techniques give the design its finishing character. The drop stitch is made into a corresponding stitch two rows below, with the drawn-up loop brought level with the current fabric. In the border, this creates a different texture from ordinary single crochet or slip stitches. The backstitch is a needle-and-yarn embroidery technique used later for the leaf stem and flowers.
These brief descriptions identify the techniques, but they are not a substitute for the source’s full directions. If either stitch is new to you, read its explanation in the designer’s pattern before beginning that part. Keeping the special-stitch names visible while following the pattern can also help distinguish the decorative border work from the main tapestry fabric.
learn Tapestry Crochet - Free Tutorials
This potholder uses tapestry crochet, carrying a color design through rows of crochet. The source also points readers toward guidance on tapestry crochet and color changes. For an additional visual reference, you can watch this video tutorial. Use the video as technique support, while relying on the original pumpkin pattern for its specific chart and project directions.
Gauge
The stated gauge is 28 single crochet stitches and 26 rows over 4 in (10 cm), worked in tapestry crochet. Gauge helps explain how the designer arrived at the listed finished size, but it is not a guarantee of a particular result. If matching size matters to your project, compare your swatch with the stated gauge and follow the source’s guidance rather than adjusting the pattern by guesswork.
Pattern Notes
The body is worked back and forth in rows, with the right side established at row 3. The notes identify odd-numbered rows as right-side-facing and even-numbered rows as wrong-side-facing. The pattern then changes to rounds for the border, followed by embroidered finishing. Bracketed instructions indicate repeats, and the source says the starting chain 1 counts as a stitch.
There is a point worth reading carefully: the pattern begins with a 46-chain foundation, while its first row is described as 45 single crochets, and the notes state that the body stitch count is 45. Those figures are stated separately in the source, not presented as a correction to one another. The note about a chain 1 counting as a stitch may also be easy to confuse with the foundation chain. Do not guess at a revised count; follow the original instructions and chart, and consult the designer’s source if the chain note is unclear.
Potholder
The main panel begins with the foundation and is worked as a rectangular, two-color tapestry design. Color A forms much of the background, while color B creates the pumpkin motif across the rows. The written pattern gives color-specific stitch sequences, rather than asking readers to improvise the picture. This overview intentionally does not restate those row-by-row sequences; use the designer’s pattern and color chart for the actual work.
The source describes 45 body rows and says to continue directly into the border without fastening off at the end of the panel. That gives the project a clear progression: create the patterned fabric first, then finish its edges and add the decorative embroidery. Read the side labels and the color chart together as you work, since the design is viewed from alternating sides as the rows progress.
Border
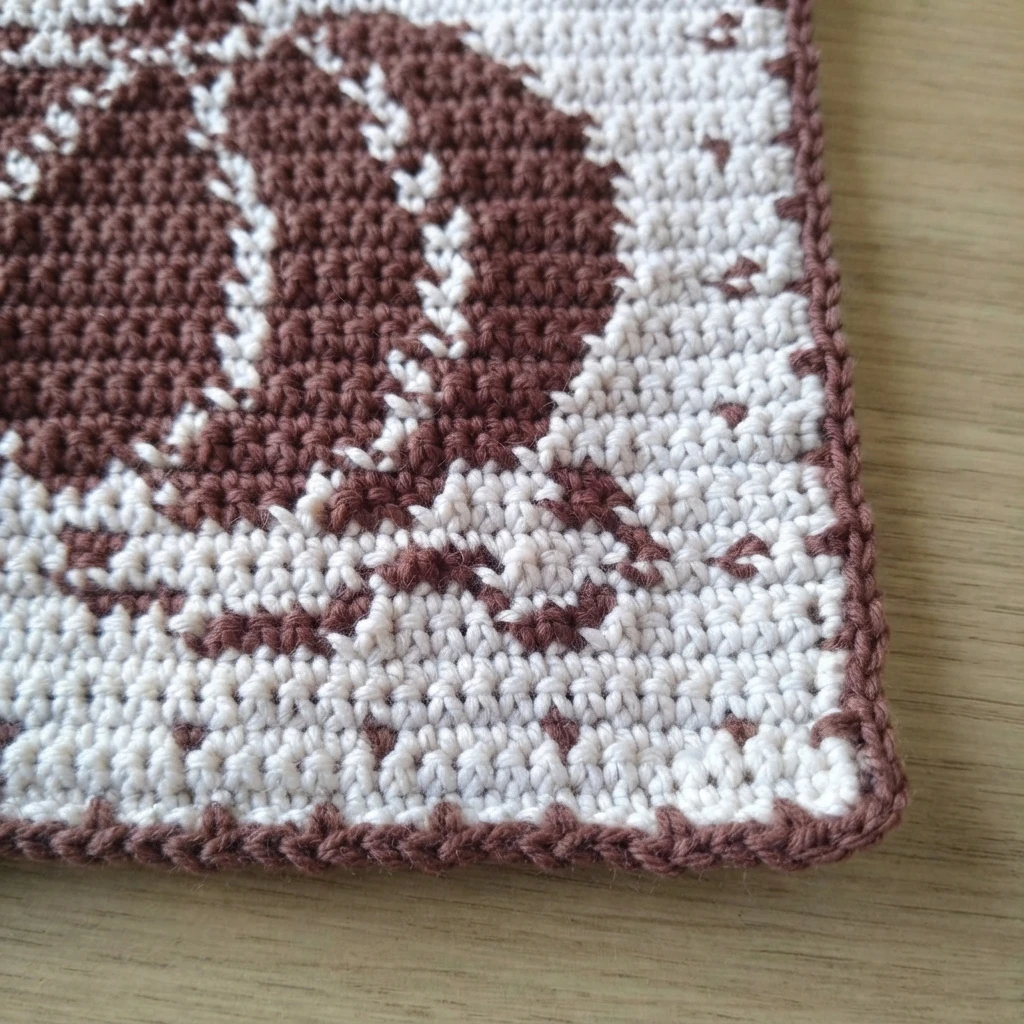
The border is worked in two rounds around the panel. The first establishes single crochet along the sides with chain spaces at the corners. The second uses color B and combines slip stitches with the drop stitch for a raised, textured edge. The source also includes a hanging loop at the upper corner. Follow the designer’s placement details to keep the corners and loop integrated with the edging.
The border section has its own stitch placement and corner treatment, so it is not simply a repeated row from the main panel. Read that part of the original pattern from beginning to end before starting it, especially to track where the loop is made and how the round is joined. After the border is complete, the pattern calls for fastening off and weaving in the ends.
Finishing
Finishing adds the leaf stem and flowers with color B and backstitch embroidery. This small needlework stage completes the pumpkin image after the crocheted panel and border are finished. Keep the source’s embroidery placement as the reference, since this overview does not supply a separate motif chart or substitute instructions for positioning those details.
Your Tapestry Crochet Pumpkin Potholder is ready!
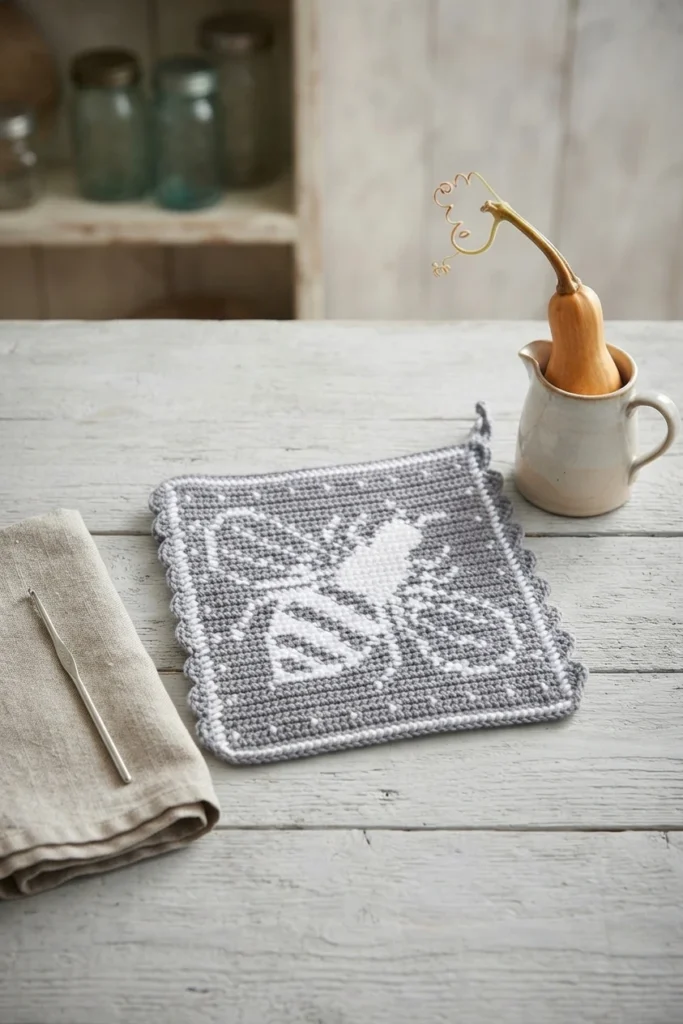
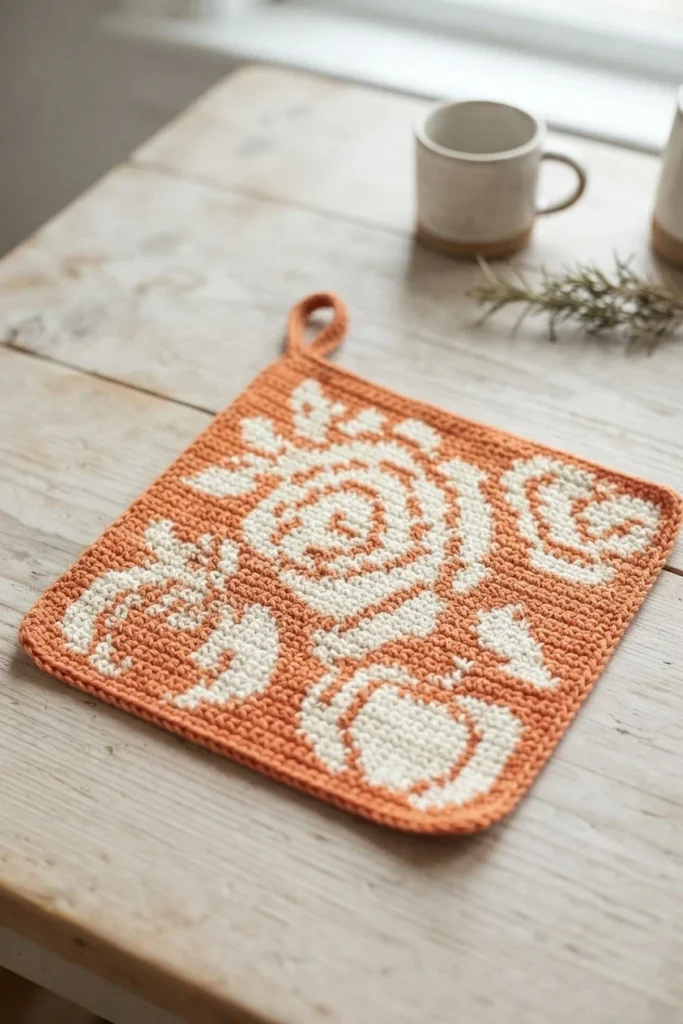
With its tapestry picture, textured edge, and embroidered accents, this project brings several techniques together in a compact seasonal design. The original pattern page is the place to follow for the full directions and any chart details not covered in this overview. If you are planning another seasonal kitchen project, see Christmas Peppermint Potholder - Crochet: Pattern Overview for a related crochet idea.

4 thoughts on “Tapestry Crochet Pumpkin Potholder: Pattern Overview”