Project introduction
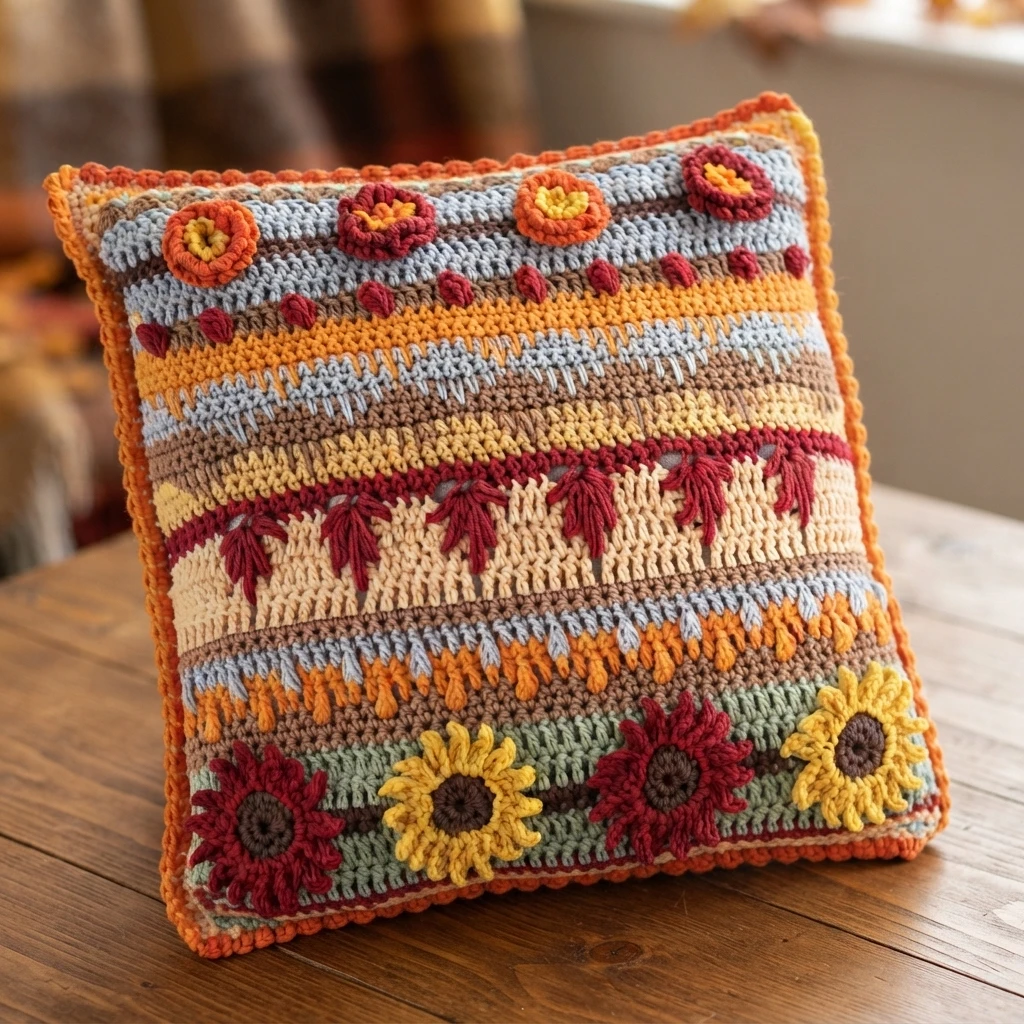
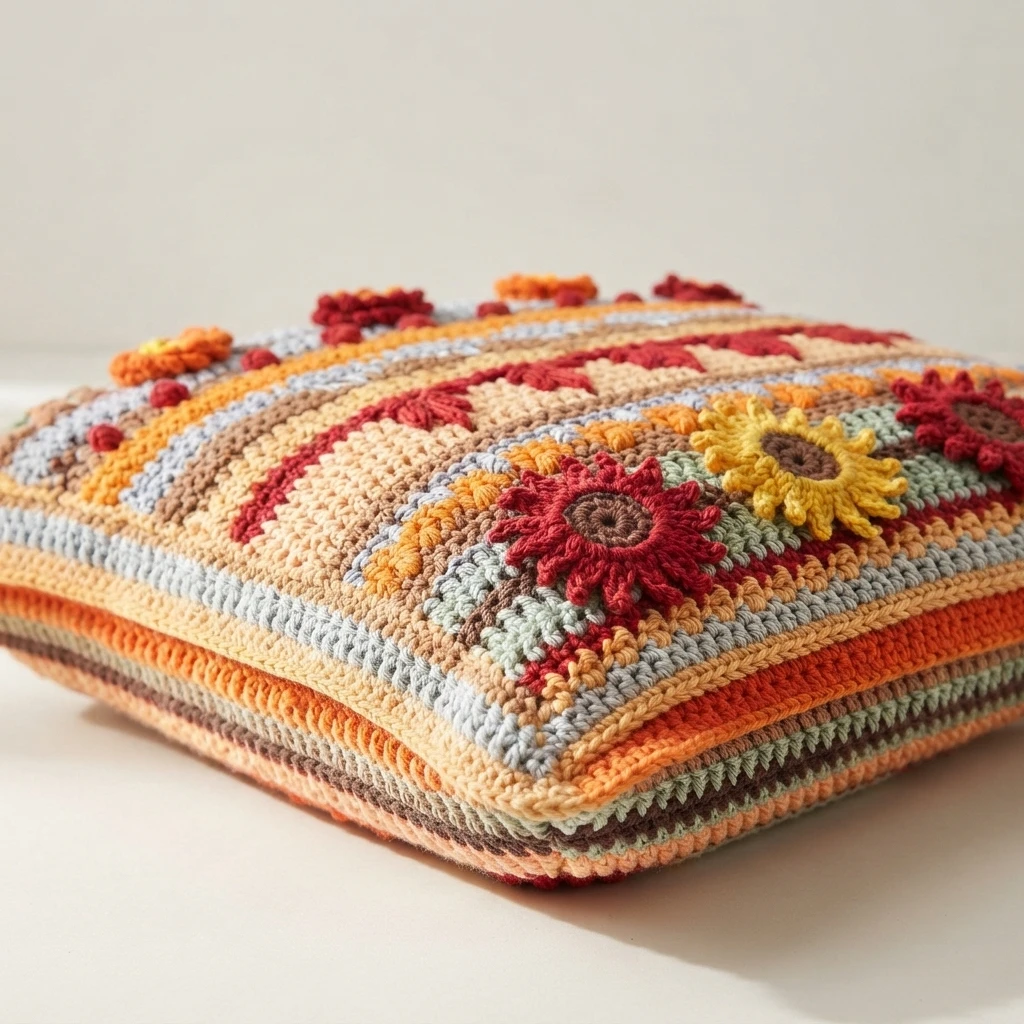
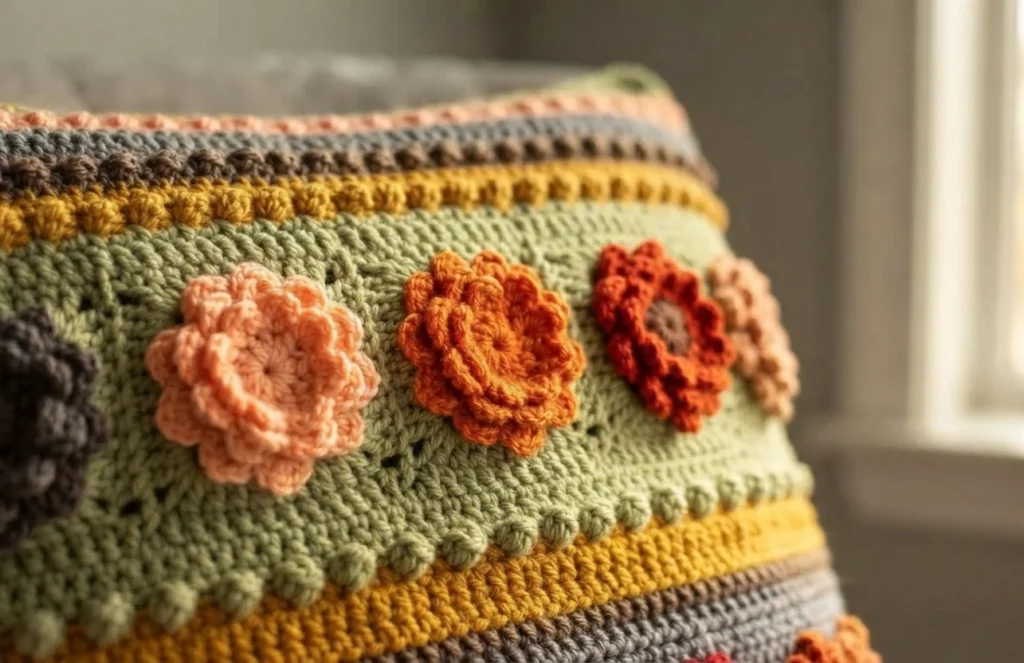
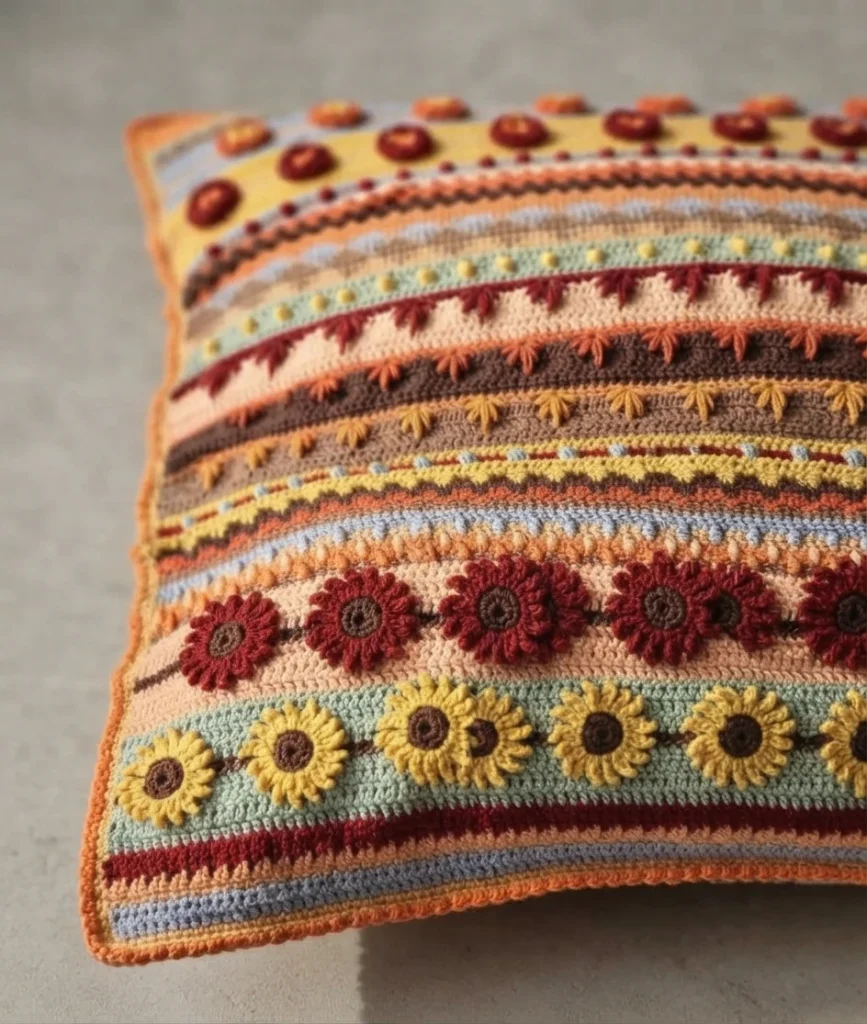
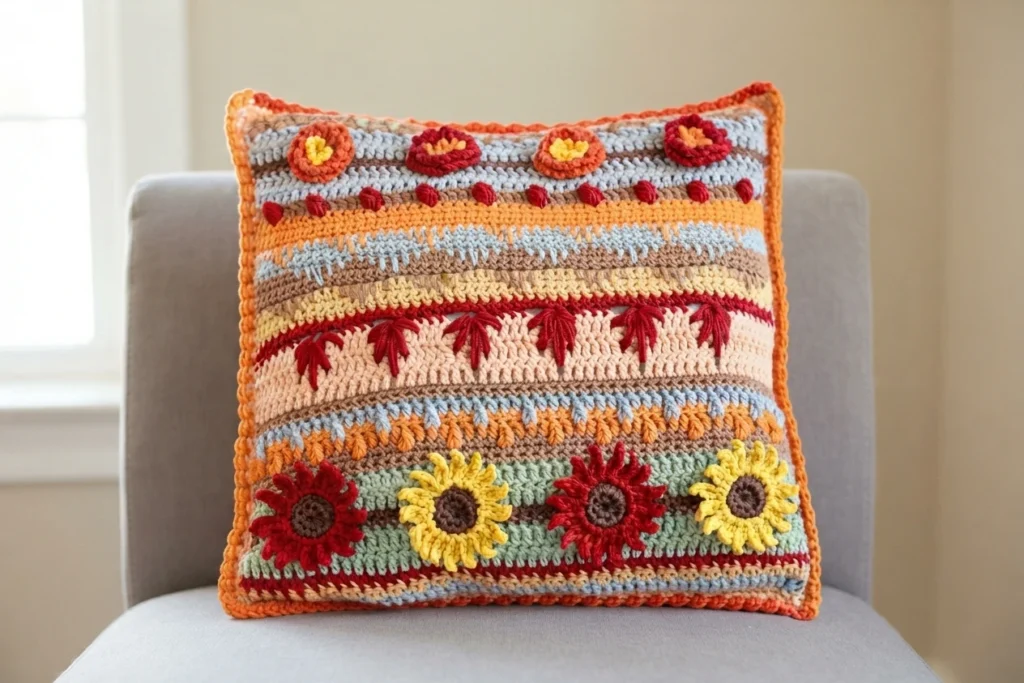
The Autumn Rhapsody Stitch Sampler Pillow is a free crochet pattern at Nana’s Crafty Home, and this page is a pattern overview rather than a full tutorial. Designer Tonya Bush created it as a companion to her Autumn Rhapsody Blanket, a larger free pattern on the same blog. If you have admired that blanket but felt unsure about the stitches or did not want to commit to a big project, the pillow offers a smaller way to bring the same fall feeling into your home.
Because the pillow only gave her 16″ to work with, the designer had to choose which blanket stitches to carry over. That selection turned out harder than expected, since narrowing down favorites is never simple. The finished sampler still represents the blanket well, and the variety keeps the making interesting from start to finish. The full pattern, including every row and special stitch, lives at the Original designer’s pattern and instructions.
Autumn Rhapsody Pillow crochet Pattern Overview
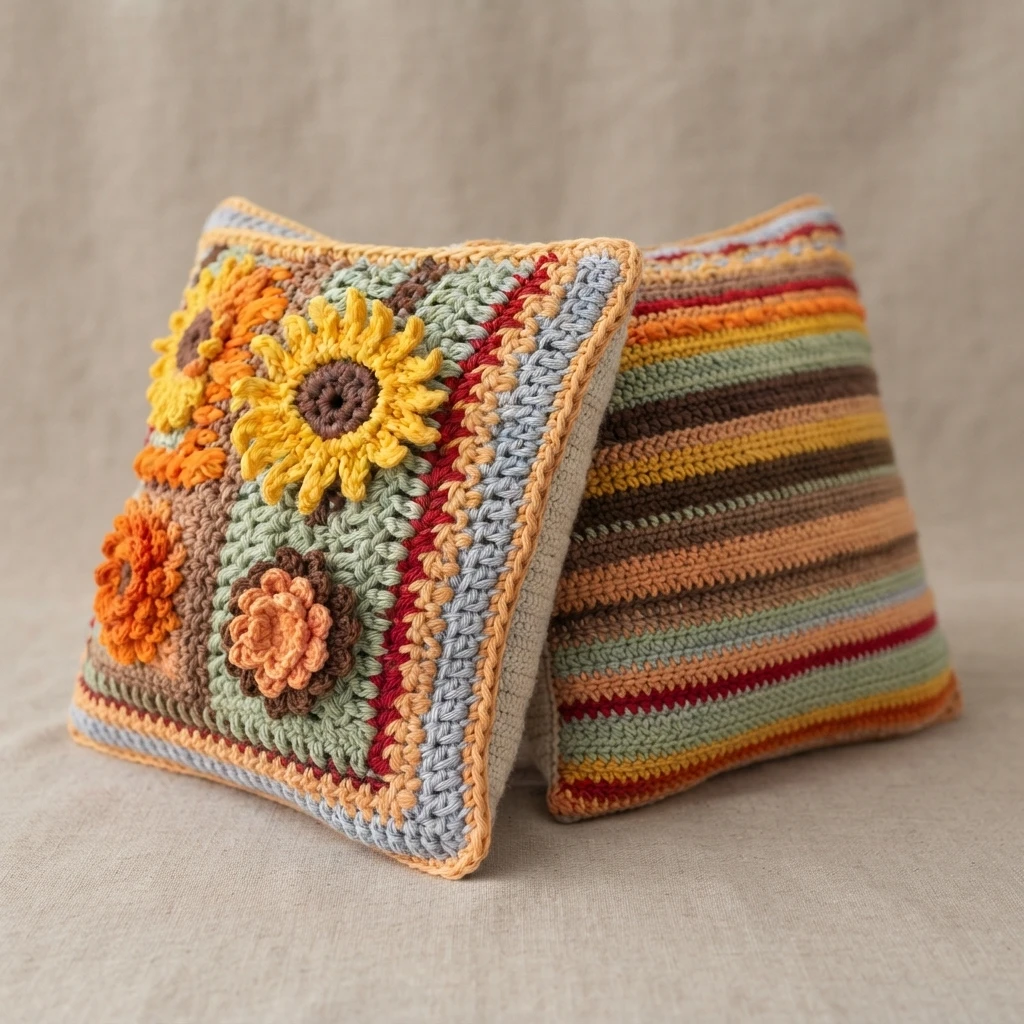
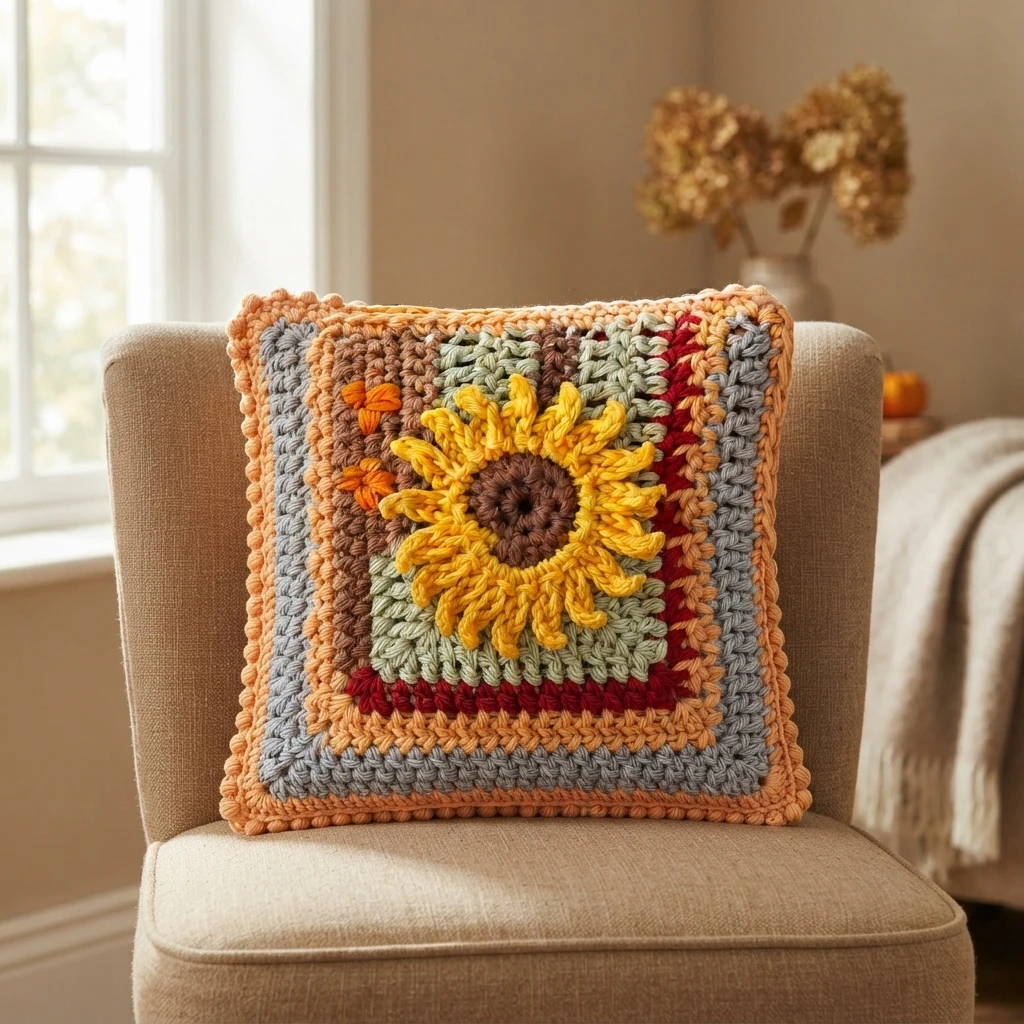
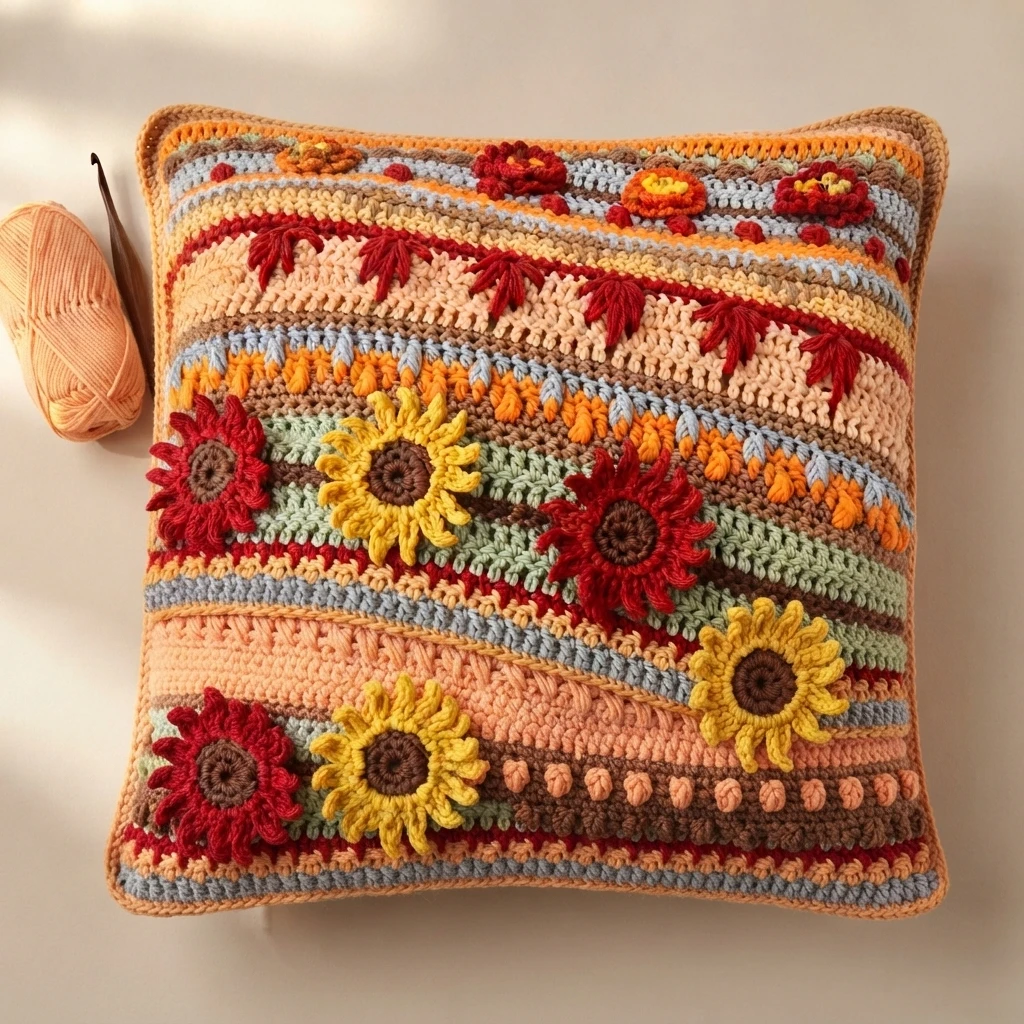
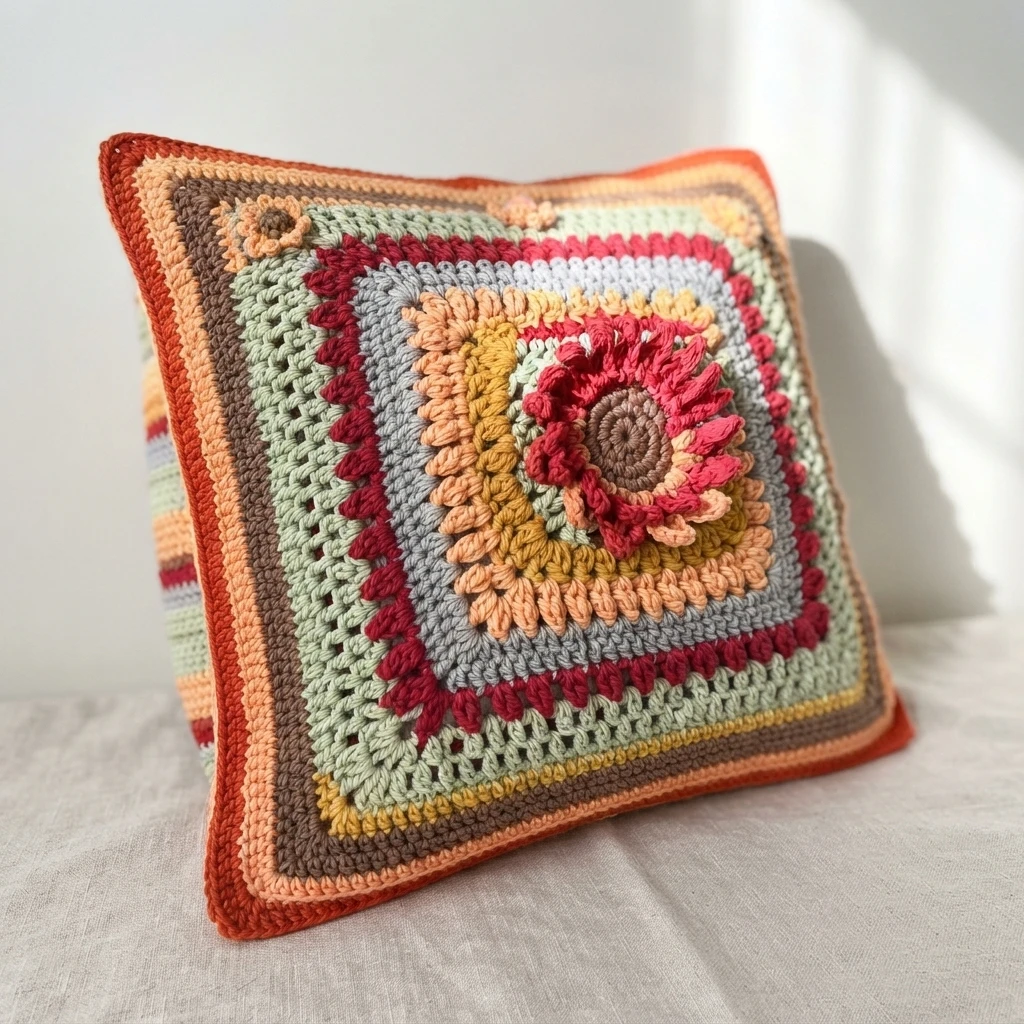
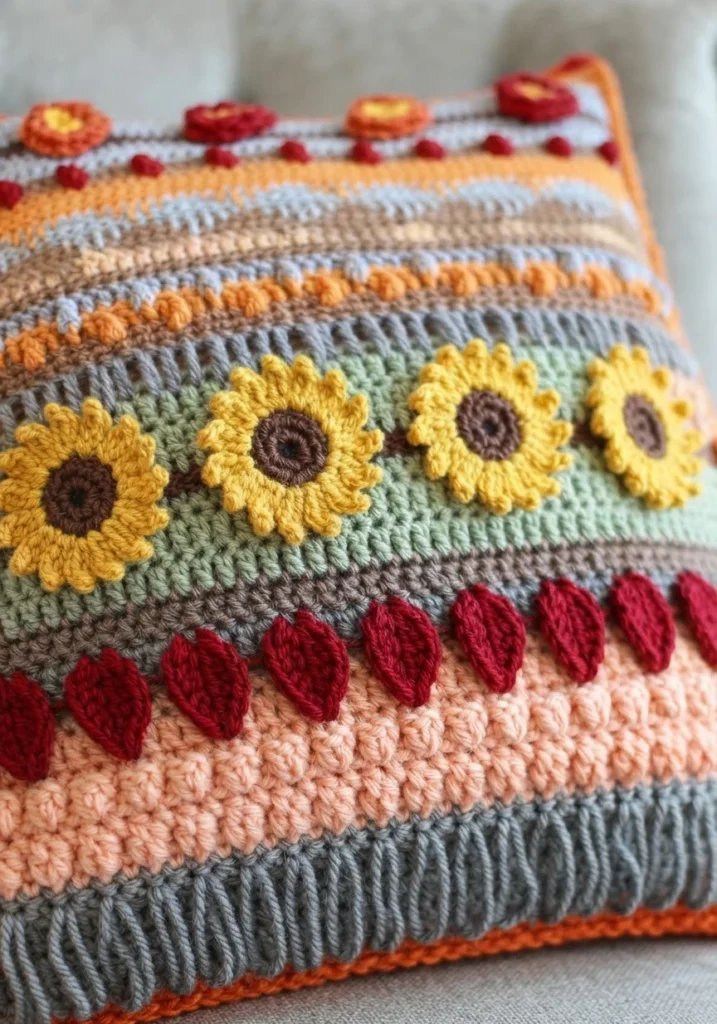
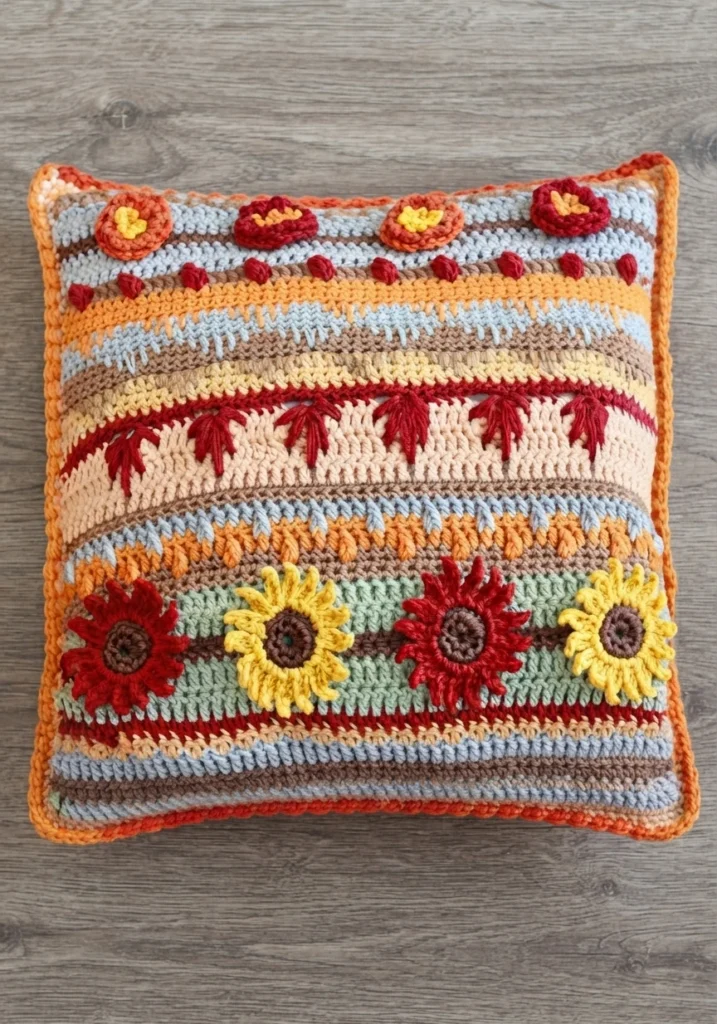
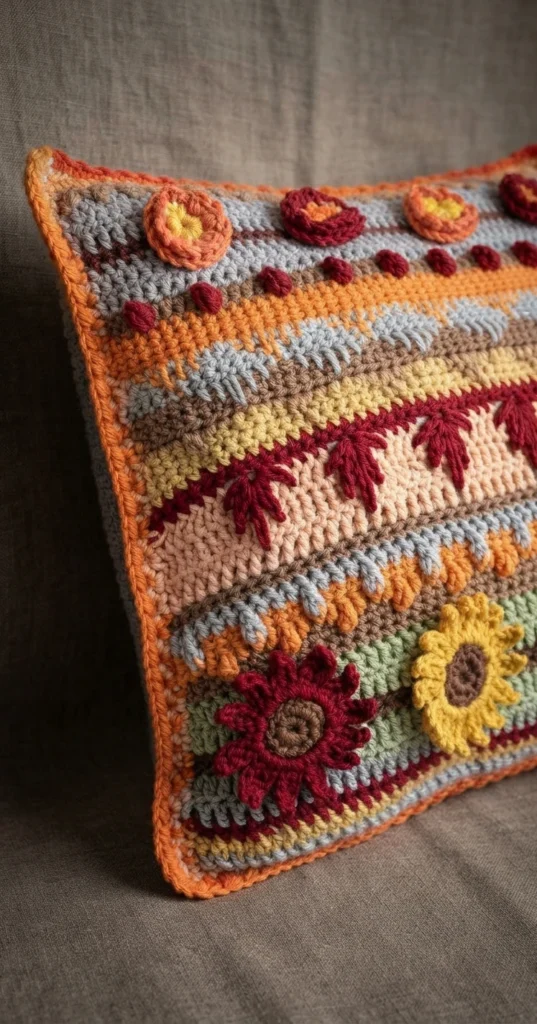
This overview gathers the practical details a maker needs before starting: supplies, gauge, finished size, the special stitches involved, and how the two panels come together. It does not reproduce the row-by-row instructions. For those, follow the link to Nana’s Crafty Home, where the pattern is written in US crochet terminology and the designer’s own photo and video tutorials support the trickier stitches.
Supplies come straight from the source, so treat this as a complete checklist. The yarn is Paintbox Cotton Aran in the Fallen Leaves color pack, and the designer used less than 93 yds of each of ten shades: Stormy Grey (Color A), Melon Sorbet (Color B), Red Wine (Color C), Pistachio Green (Color D), Coffee Bean (Color E), Mustard Yellow (Color F), Peach Orange (Color G), Soft Fudge (Color H), Seville Orange (Color I) and Blood Orange (Color J).
- Paintbox Cotton Aran in ten Fallen Leaves shades (A through J), less than 93 yds of each
- Size H (5.0 mm) crochet hook
- (1) 16″ x 16″ pillow insert or fiber fill
- Stitch markers
- Tapestry needle
Approximate finished size is 16″ x 16″ plus a 1/2″ border. Gauge is 8 rows of double crochet to 4″ and 14 double crochet stitches to 4″. The pattern notes that a chain 3 at the beginning of each row counts as a stitch, and each row is labeled right side or wrong side so you always know which face of the pillow you are building.
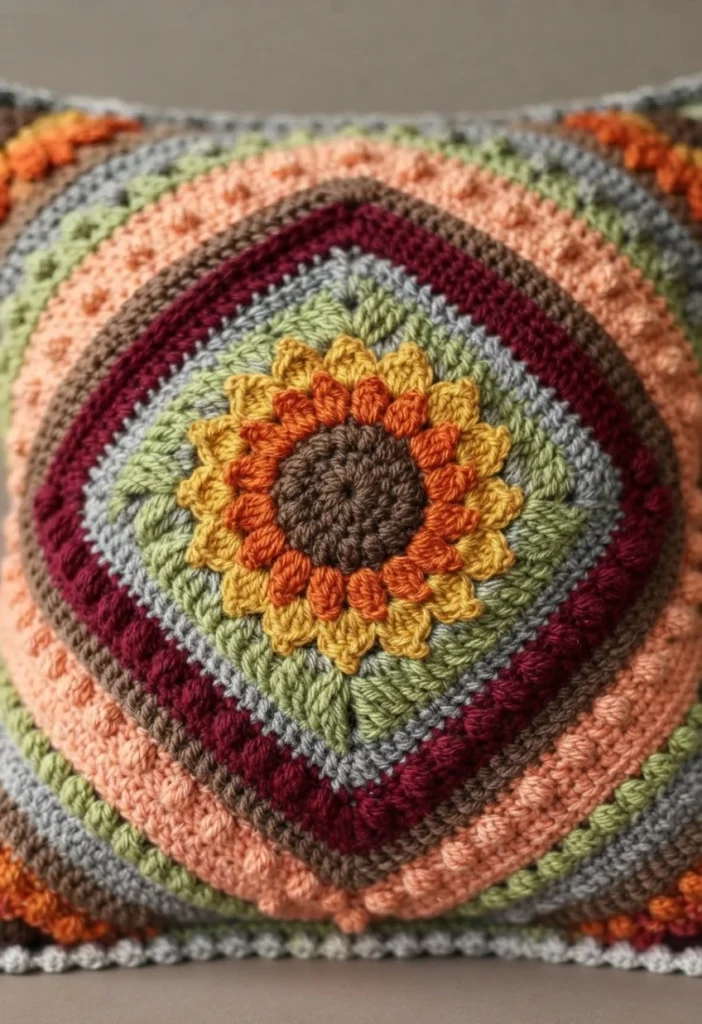
The sampler leans on a long list of textured stitches: Lemon Peel, Sunflower, Falling Leaves, Extreme Drop Leaf, Single Crochet Spike, Popcorn, Mum Flower, Sedge, and a Bobble Shell Stitch Border, plus guidance on wet blocking. The designer keeps tutorials for these techniques on her blog, so you can practice any stitch that feels unfamiliar before working it into the panel.
The front panel is one piece, worked in rows that shift color and texture as you go. Sunflower and mum motifs are formed by working into front and back loops separately, then adding petal rounds afterward. Leaf stitches are worked around posts from earlier rows, spike stitches reach down two, three or four rows, and an extreme drop stitch section pulls up long loops across chain spaces. Popcorn stitches appear in a later band, and the panel finishes with an edging of single crochet and corner chains. Wet blocking the panel is recommended but optional.
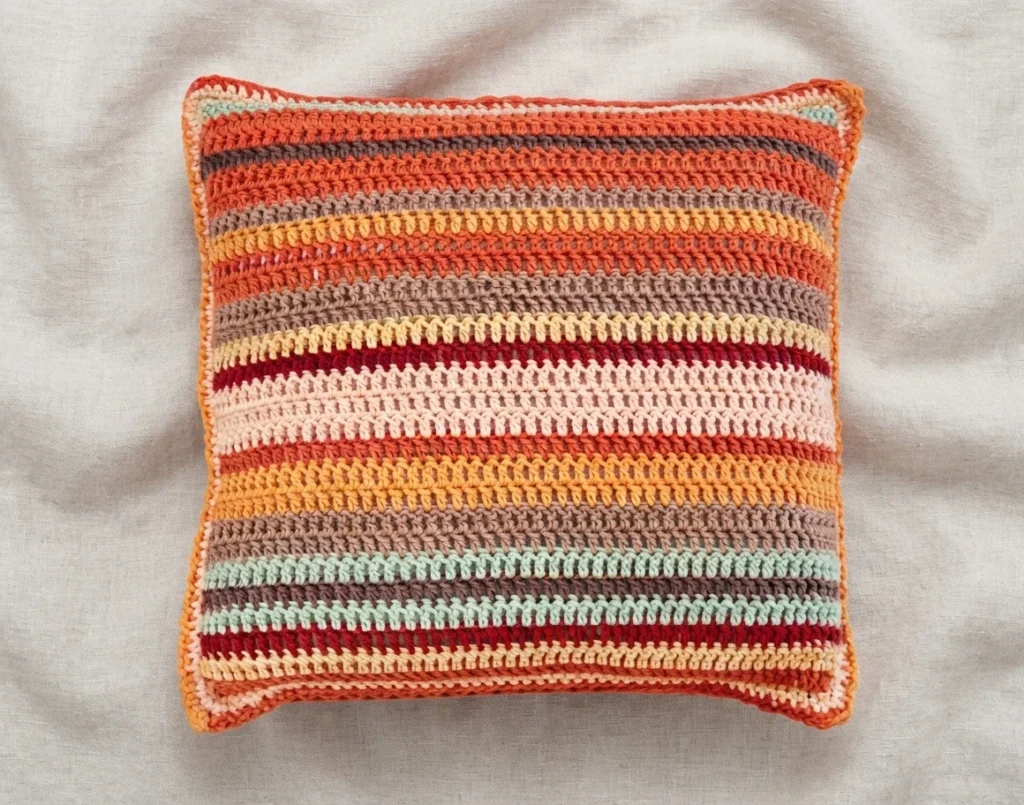
The back panel keeps the scrap-busting spirit of the blanket. It is worked in double crochet rows, with colors matched to the front as closely as possible. The designer ran out of some shades and substituted others from the pack, and she notes that a solid color back panel is perfectly fine too. Both panels receive the same single crochet edging before joining.
Assembly is straightforward in concept. With wrong sides of the front and back panels facing each other and the right side of the front panel showing, the panels are joined with single crochet, working (sc, ch 1, sc) in each corner space. After three sides, the pillow insert goes in, then the last side is closed. A second round works bobble stitches and slip stitches on the wrong side of the pillow, alternating two colors at the corners. Ends are woven in at the finish.
Access is simple to describe. The web version is free on the designer’s blog, and the same pattern is also available as an ad-free, printable PDF for a small fee. The free blog version does not make the PDF free, and the paid PDF does not make the blog version paid. Choose whichever format suits how you like to work.
If you enjoy fall projects in this style, two related overviews are worth a look: the Autumn Lane Table Runner: Pattern Overview and the Fall Crochet Pattern, Hello Pumpkin Pillow: Pattern Overview. Both keep the seasonal mood going while you decide on your next make.