Project introduction
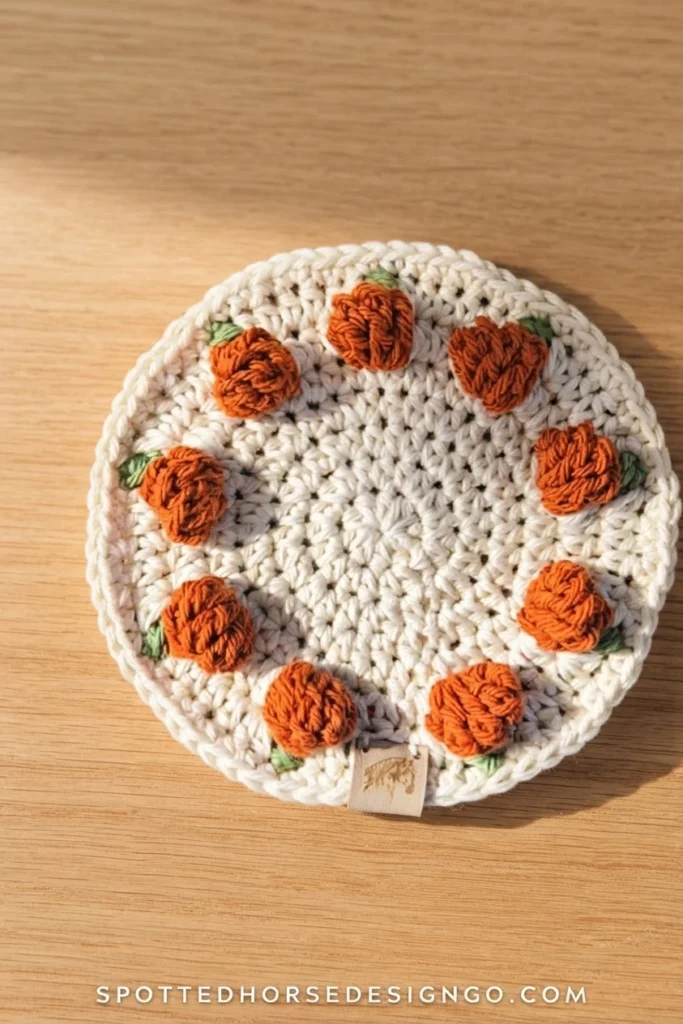
This is a pattern overview, not a full tutorial. It walks through what the Crochet Pumpkin Coaster involves, what you will need, and how the colorwork is structured, so you can decide whether it fits your fall making list before you open the pattern itself. The design comes from Spotted Horse Design Co., and the free crochet pumpkin coaster pattern is described as a quick project and a lovely addition to fall home decor.
Easy Crochet Pumpkin Coaster Pattern Overview
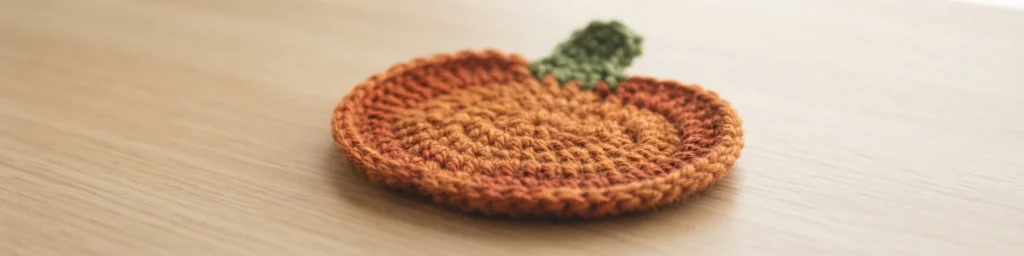

The designer describes living a minimalist life and preferring crochet projects that are practical enough for everyday use. These coasters are presented as a compromise between decorative and functional: a small piece of pumpkin decor that also gives a hot cup of tea somewhere to sit each morning.
Only a small amount of colorwork is involved, and the designer calls it quite easy. For anyone who has never worked with multiple colors, this is described as a great pattern to start with. A downloadable, printable PDF is offered as an alternative for readers who prefer not to view ads on the free web page.
The Halloween Delights Blog Hop is here!
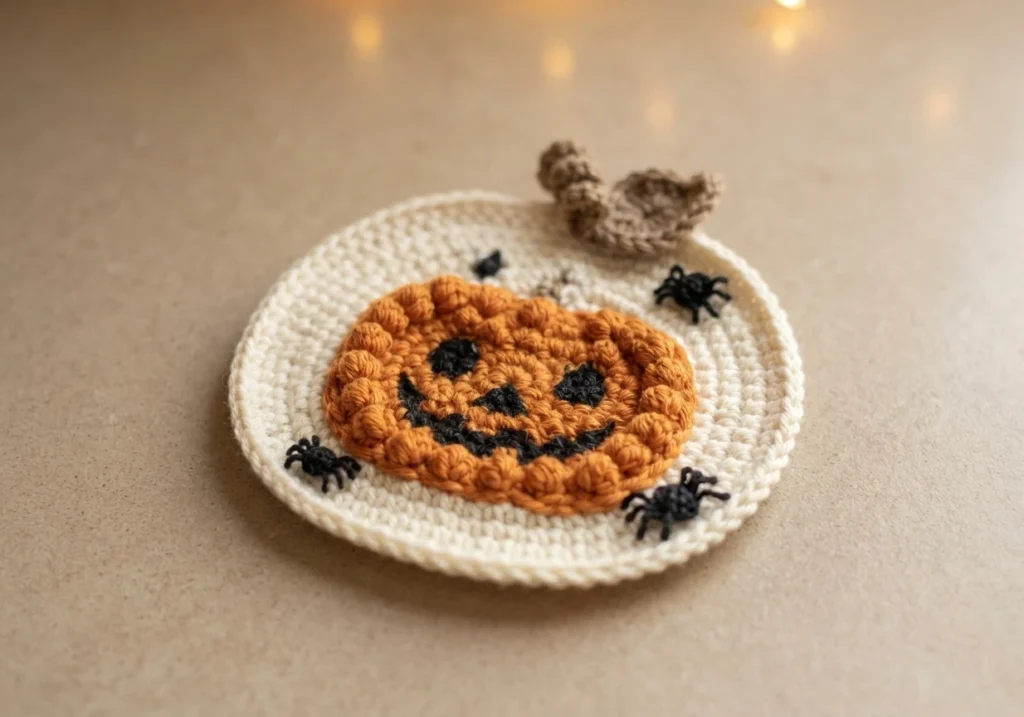
This pattern was part of the Halloween Delights Blog Hop hosted by Itchin’ For Some Stitchin’. During that event, on October 27, 2022, the PDF was available as a direct download on Ravelry completely free for 24 hours only. That window has closed, so the current access situation is what matters now.
Today, the pattern page itself is the free route, while the printable PDF is a paid option. The blog hop also gathered a bundle of 31 spooky patterns into one download, which was a separate purchase. If you want the free web version, start with the Original designer’s pattern and instructions from Spotted Horse Design Co. and follow the page as it stands now.
Crochet pumpkin coaster
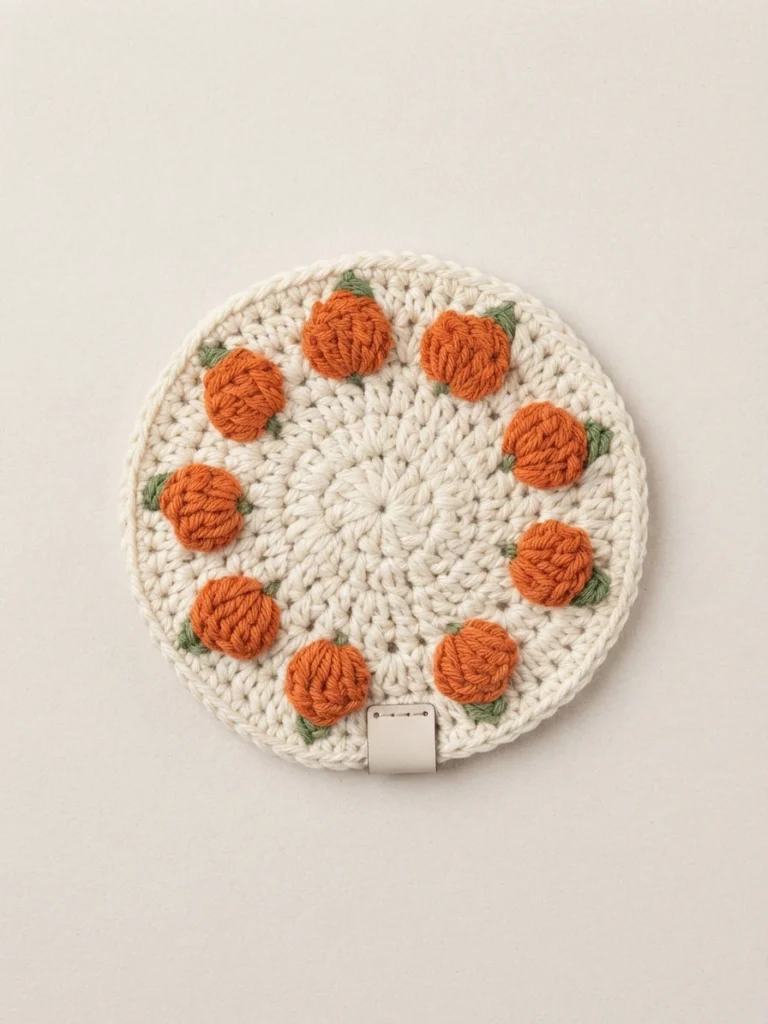
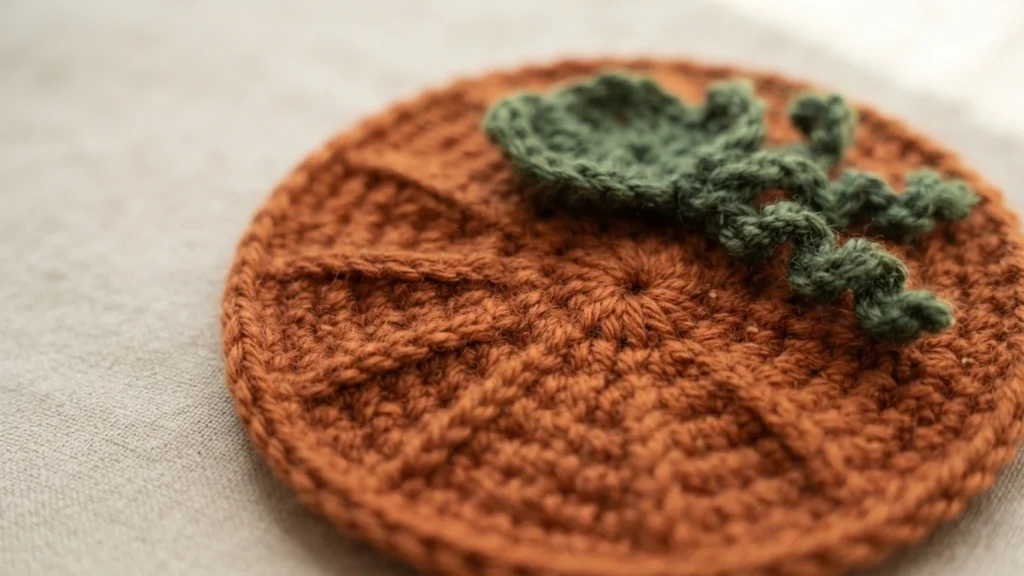
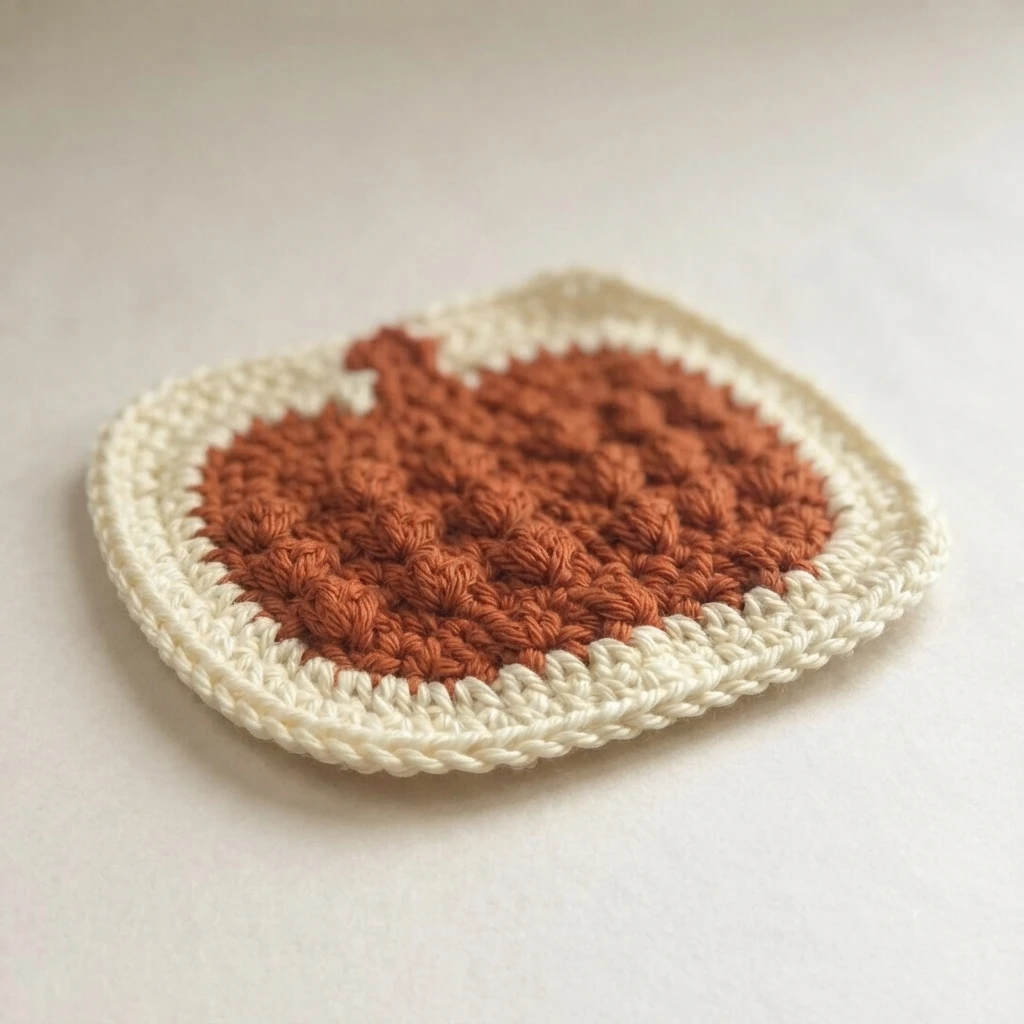
The designer notes a love of quick and easy makes that work as gifts and as items for daily life, and describes this coaster as simple and elegant. It is a small, round project with a pumpkin motif worked into the fabric rather than appliqued on afterward, which keeps the surface flat enough for a mug.
Crochet Pattern Overview for the Pumpkin Coaster
The details below summarize the source pattern’s setup: supplies, skill level, construction notes, abbreviations, gauge, finished size and the colorwork method. They are here to help you prepare, not to replace the row-by-row instructions. For the complete sequence, use the designer’s page.
Materials
Gather these before you begin. The list is short, which is part of why the project moves quickly.
- G6 (4.50mm) crochet hook
- Your favorite worsted weight cotton yarn
- Scissors
- Tapestry needle (for weaving in ends)
The pattern uses three colors: a main color, a first contrasting color for the pumpkins, and a second contrasting color for the stems. Cotton is the suggested fiber, which suits a coaster that may see a warm mug.
Skill level
The pattern is rated advanced beginner. The stitches are beginner friendly, but there is some colorwork involved. The designer frames this as a good introduction for anyone who has never changed colors mid-project, and photo tutorials covering the colorwork appear on page 3 of the pattern.
Pattern notes
Two construction facts shape how the rounds behave. First, the coaster is worked in the round using standard US crochet terms. Second, the chain 1 at the beginning of each round does NOT count as a stitch, so joins are made to the first actual stitch rather than to the turning chain.
Photo tutorials for the color changes and for reading the color-changing rows are included on page 3. If the written colorwork feels dense on a first read, those visuals are worth checking before you start round 6.
Stitches used and abbreviations
The pattern relies on a compact set of terms. These definitions match the source glossary.
- ch = chain
- st/sts = stitch/stitches
- sl st = slip stitch
- sc = single crochet
- hdc = half double crochet
- yo = yarn over
- tr bbl/bbls = treble bobble/bobbles
- MC = main color
- CC1 = first contrasting color, used for the pumpkins
- CC2 = second contrasting color, used for the stems
How to make a treble bobble (tr bbl)
The treble bobble is the texture that forms each pumpkin. It begins with two yarn overs and a hook inserted into the stitch, then a loop pulled up. From there, yarn over and draw through the first two loops on the hook, then yarn over and draw through the next two, leaving two loops remaining.
That sequence repeats four more times, ending with six loops on the hook and five partial treble crochets. The sixth loop connects to the previous stitch. Unlike some bobble patterns, this one is not closed with a chain 1; you simply move on to the next stitch.
Gauge
The stated gauge is a 4 inch by 4 inch square equal to 17 hdc stitches and 9 rows. Working a swatch first is the simplest way to check whether your tension will land near the finished size below.
Finished size
Following the stated gauge, the finished coaster measures approximately 6 inches across. That is a comfortable size for a standard mug or a small glass.
Color changes
Color changes happen on the final draw of a stitch. Work the stitch as normal until only the last pull-through remains, then drop the current yarn, pick up the next color, and use it to draw through the loops. The same method applies when switching back to the previous color.
One detail matters for neat fabric: when you drop a yarn, lay it across the next stitch or stitches and work over that strand. Keep it from falling in front of the work. The source gives this example row for reading the pumpkin sequence:
[2 hdc in next st. CC1: tr bbl in next st, MC: hdc in each of next 3 sts]. Repeat from [ to ] around.
How to read this Pattern Overview
Reading the colorwork takes a little practice. Make the first hdc as normal. Before finishing the second hdc, drop the main color, pick up CC1, and draw through the last loops with it. The next stitch is a treble bobble worked in CC1, but before completing it, leave all six loops on the hook, drop CC1, pick up the main color, and close the bobble with the main color.
That closing detail is the key: the treble bobble is closed with the main color, not the contrast color. Then work the next stitch in the main color, continue hdc in each of the next 3 stitches, and work 2 hdc in the following stitch. Leave the last hdc before the next bobble unfinished, pick up CC1, and draw through to complete it, ready for the next treble bobble.
Changing color to make the pumpkins
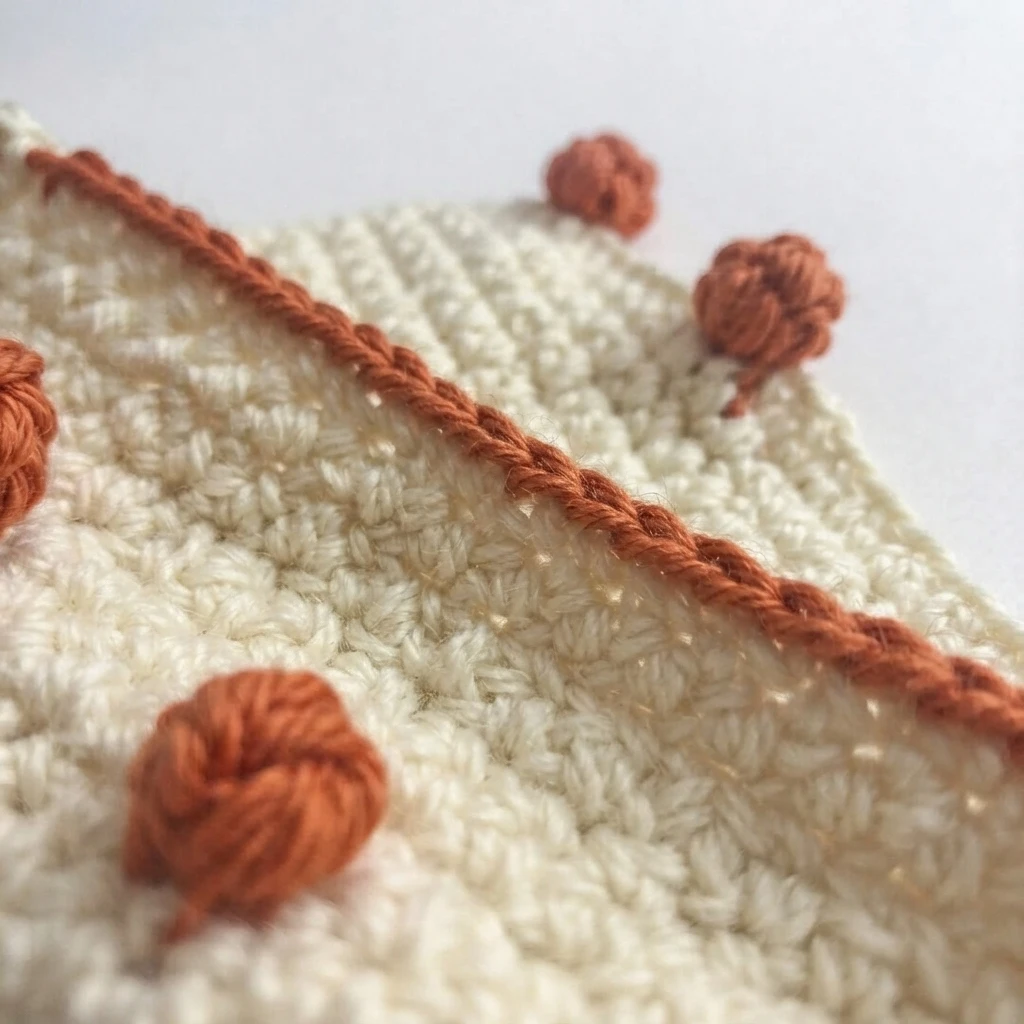
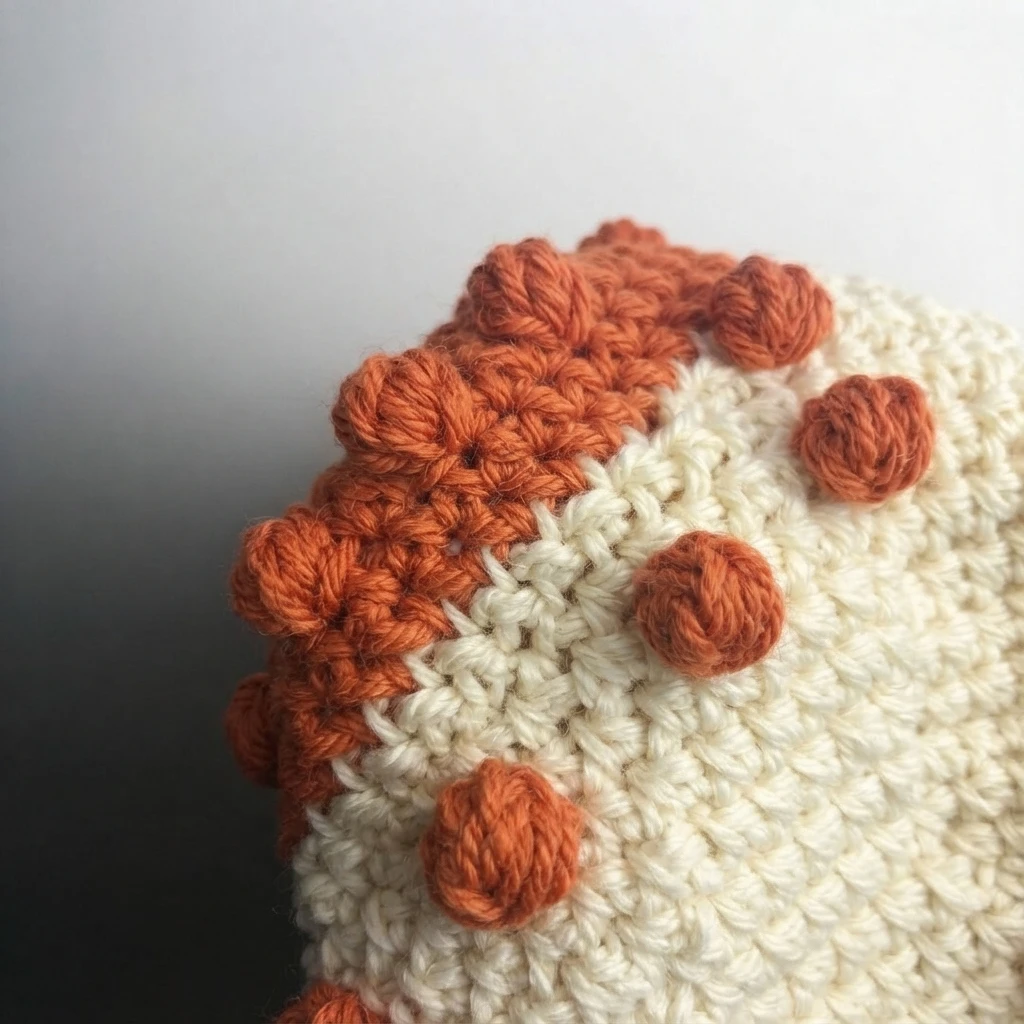
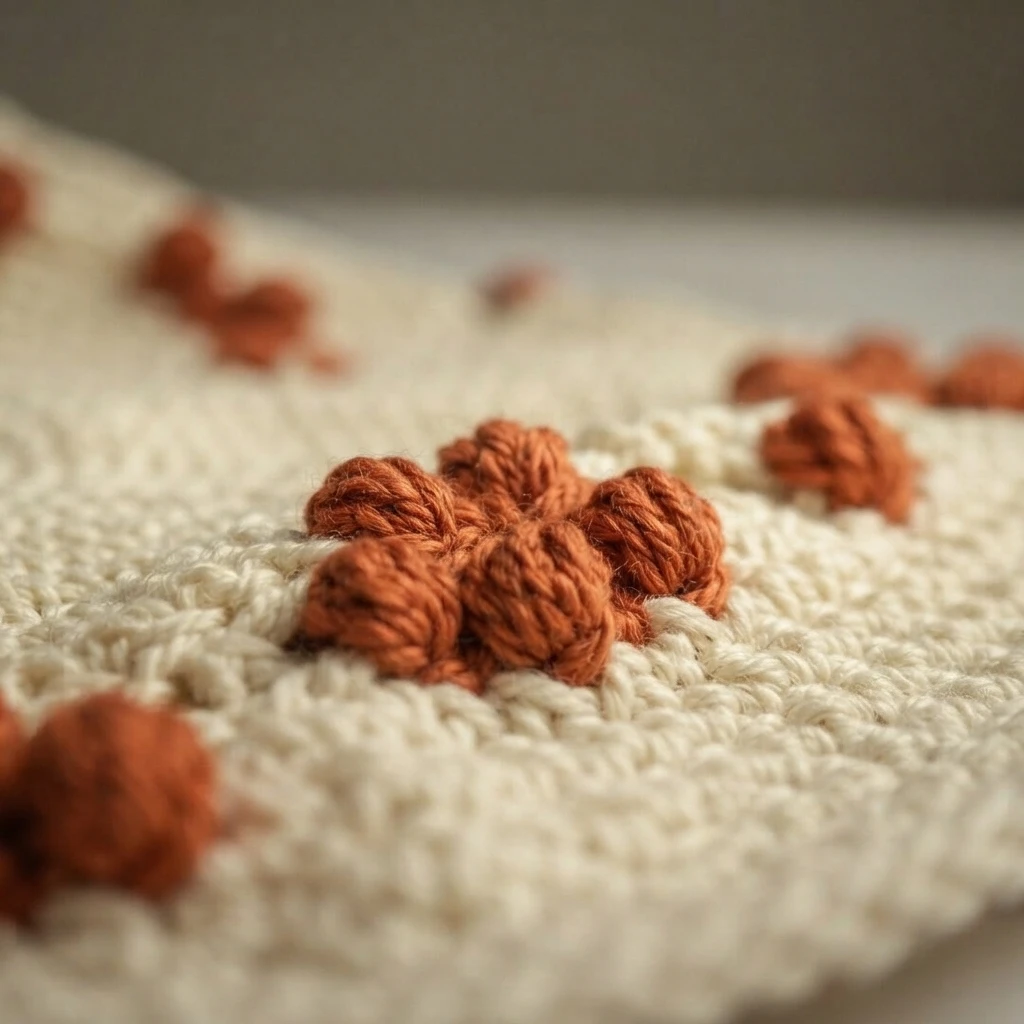
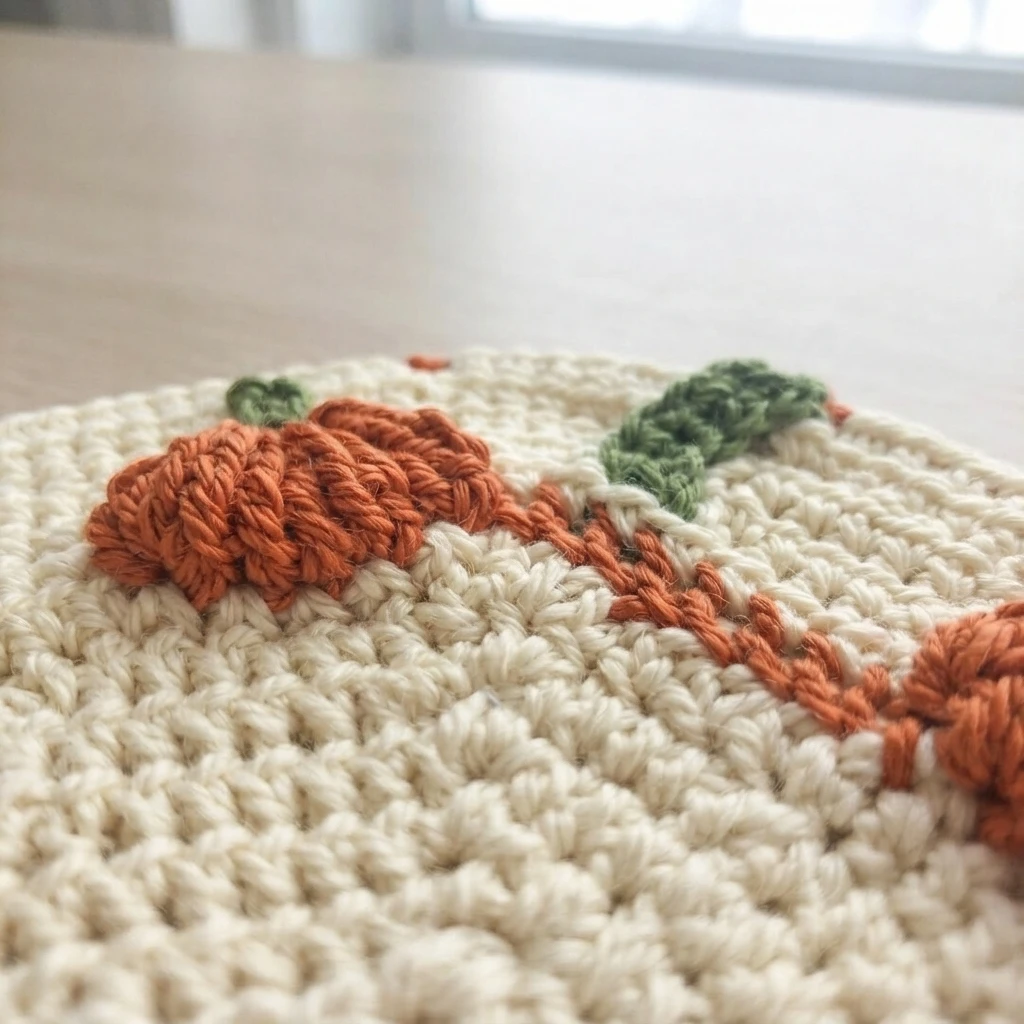
The source breaks the color change into three steps. Work the hdc as normal until 3 loops remain on the hook. Drop the current yarn and pick up the next color, laying the dropped color across the next stitch and keeping it away from the front of the work. Complete the stitch by drawing the new color through the loops, then continue with the new color.
A tip addresses bobble placement: to make the bobbles pop out on the right side, work the stitch after the treble bobble behind the bobble and tighten down slightly to secure it on the right side. The designer also notes a choice about carrying colors. CC1 and CC2 were laid over the next stitch and crocheted over so they could be picked up again easily, with the same approach for the main color. Tying off the pumpkin and stem colors each time is offered as an alternative.
Pumpkin Coaster Pattern Overview
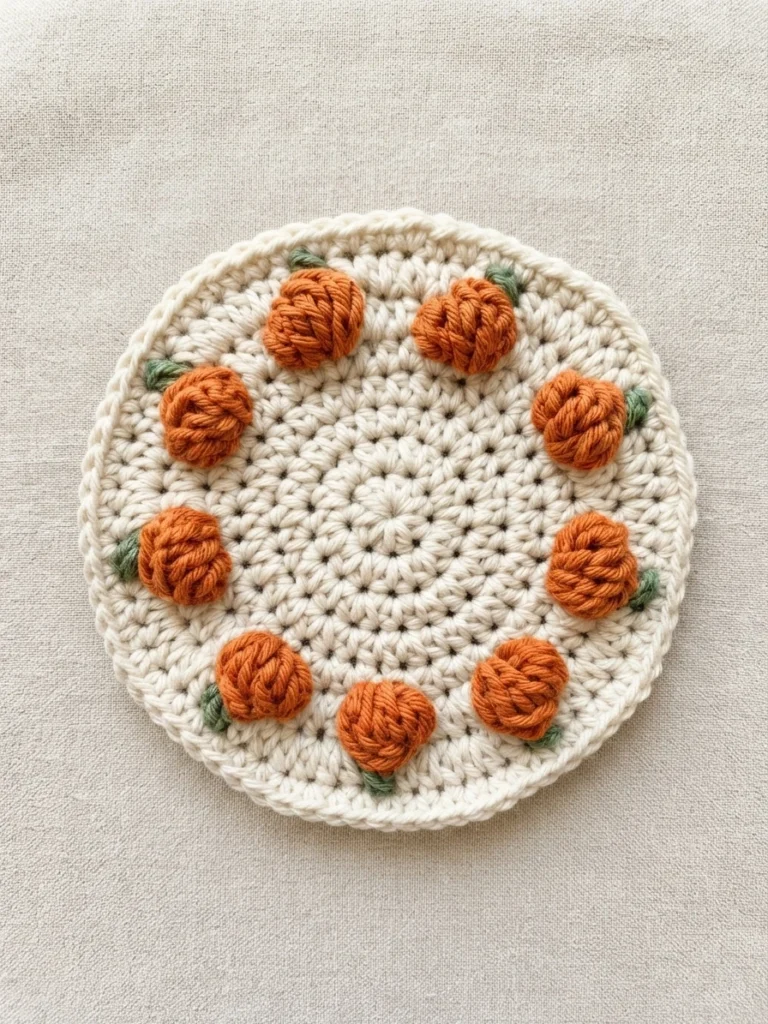
The coaster grows outward from a center circle. The opening rounds are plain half double crochet increases that establish the flat base before any colorwork appears.
- Round 1: magic circle, ch 1, 9 hdc in circle, joined with a sl st to the first stitch (9 hdc)
- Round 2: ch 1, 2 hdc in the same stitch and in each stitch around, joined with a sl st to the first stitch (18 hdc)
- Round 3: ch 1, 2 hdc in the same stitch, 1 hdc in the next stitch, then repeat 2 hdc in the next stitch and 1 hdc in the next stitch around, joined with a sl st to the first stitch (27 hdc)
- Round 4: ch 1, 2 hdc in the same stitch, 1 hdc in each of the next 2 stitches, then repeat 2 hdc in the next stitch and 1 hdc in each of the next 2 stitches, joined with a sl st to the first stitch (36 hdc)
These counts come directly from the source. Treat them as context for how the circle builds, not as a substitute for the full pattern.
Construction Overview continued
The later rounds add the pumpkin band and the stems, then finish with a single crochet edge. Round 5 continues the increase pattern with 1 hdc in each of the next 3 stitches between increases, ending at 45 hdc.
Round 6 introduces the pumpkins: 2 hdc in the same stitch, then a CC1 treble bobble in the next stitch, then main color hdc in each of the next 3 stitches, repeated around. The source lists the result as 9 pumpkins and 45 hdc.
Round 7 creates the stems in CC2. The stem stitch uses yarn over, a hook inserted into the stitch to draw up a loop, then a second yarn over and a second loop drawn up from the same stitch, leaving 5 loops on the hook. Drop CC2, pick up the main color, and draw through all 5 loops. The round is worked with main color hdc and CC2 stems placed at the top of each treble bobble from the previous round, ending at 9 stems and 54 hdc.
Round 8 is the final edge: main color ch 1, 2 sc in the same stitch, then sc in each of the next 6 stitches, repeated around, joined with a slip stitch, for 72 sc. Fasten off and weave in the ends with the tapestry needle.
Love pumpkin crochet patterns? You might also love these
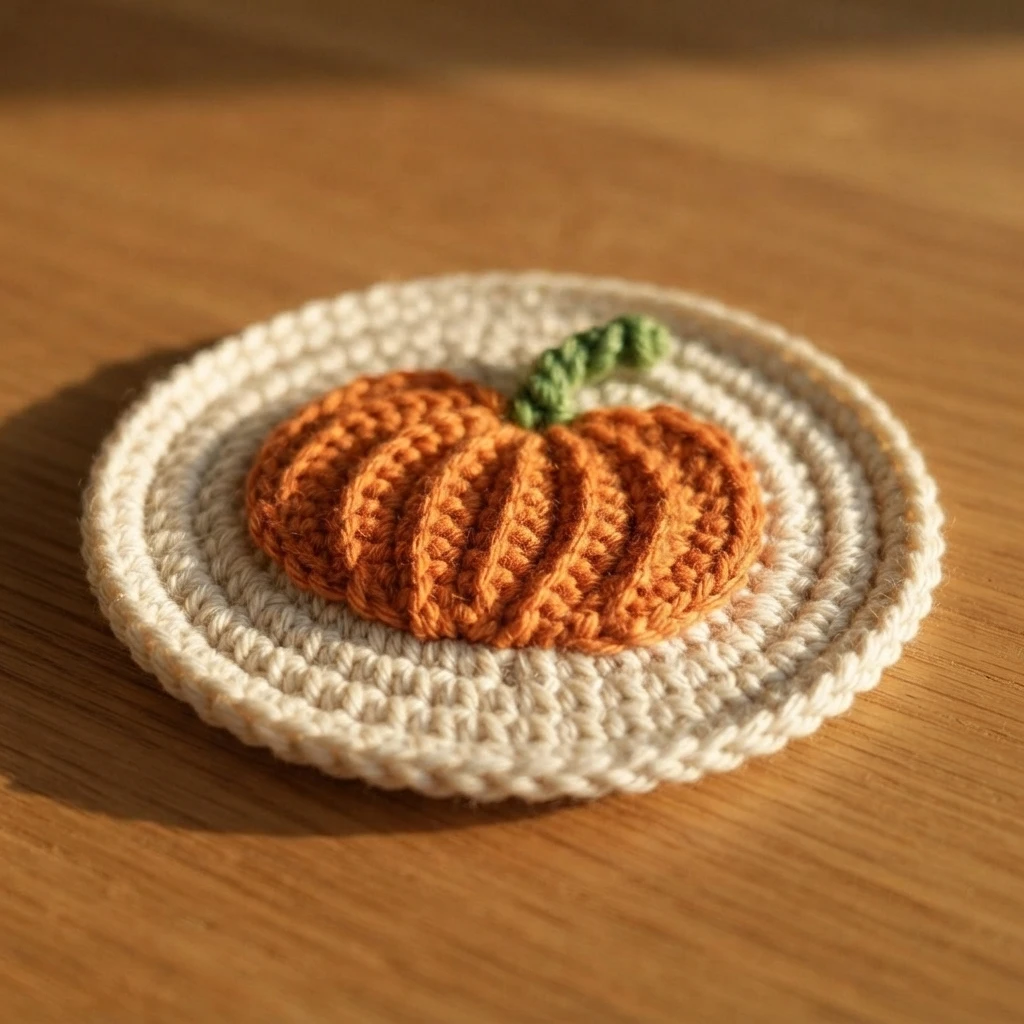
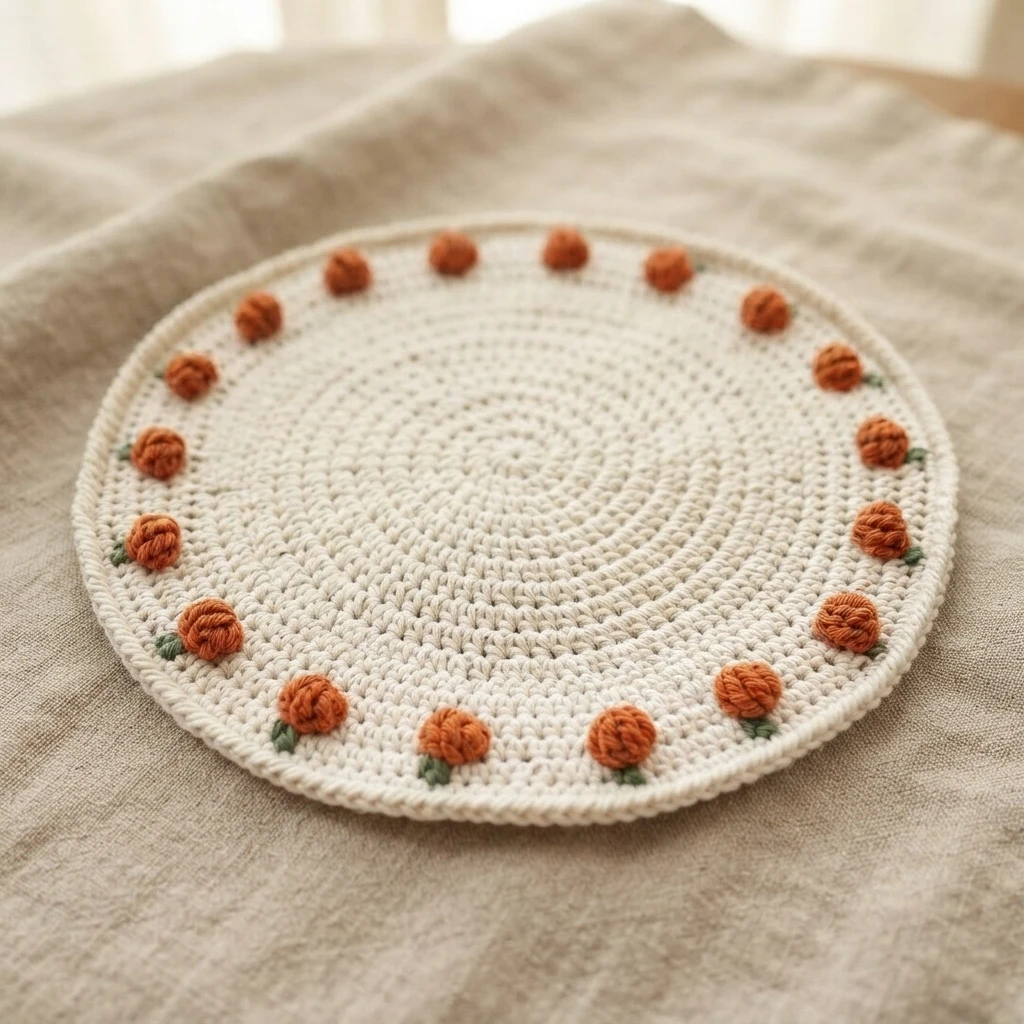
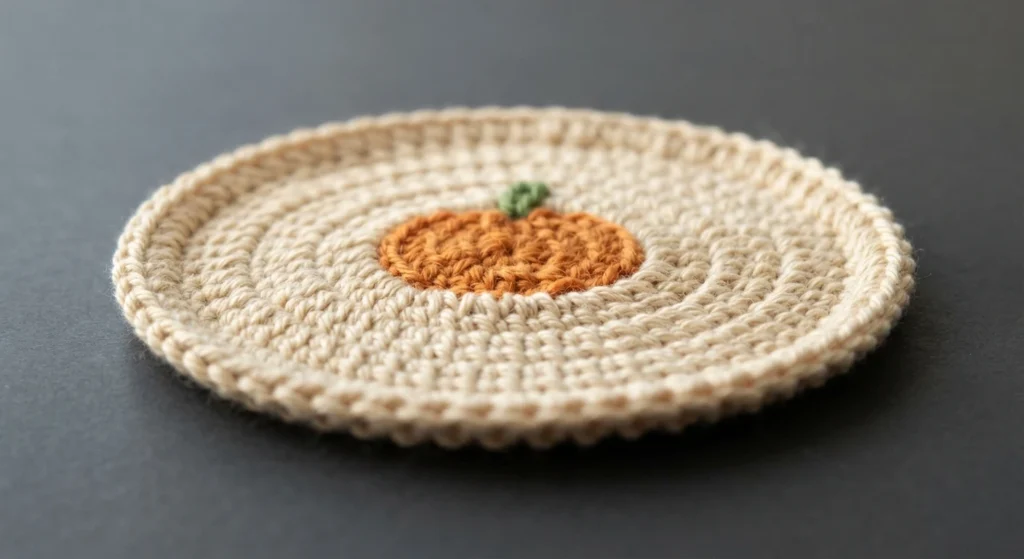
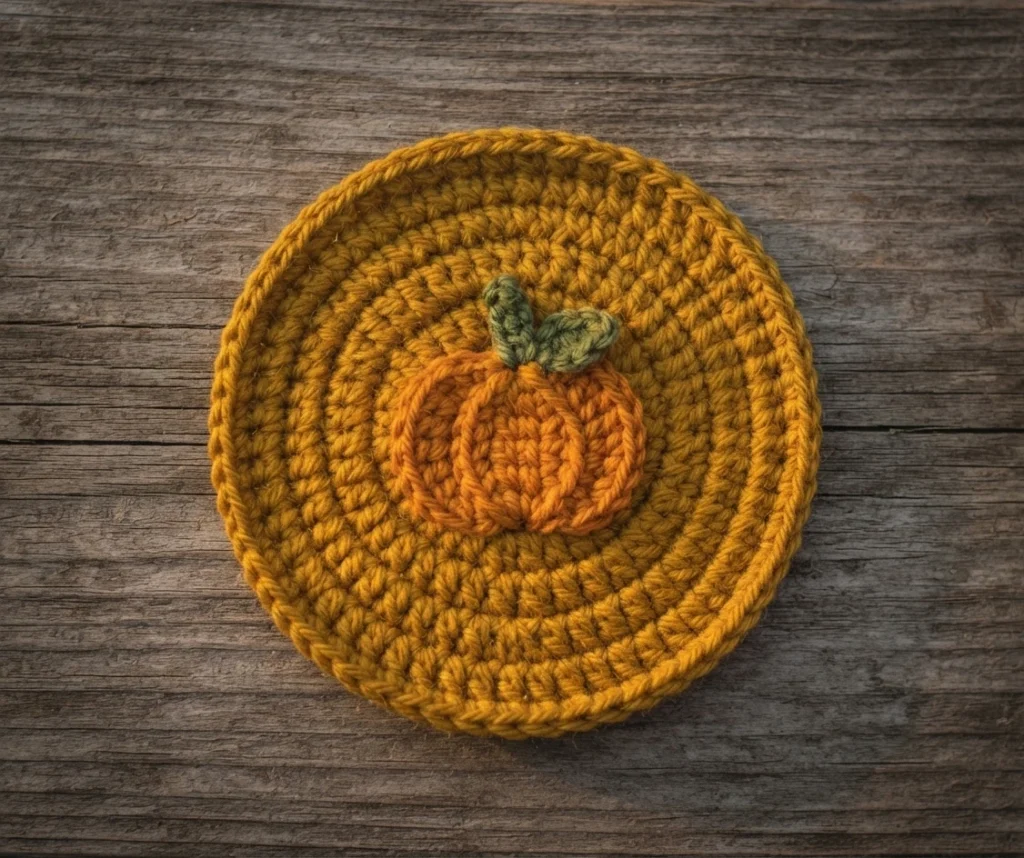
If this project fits your fall making mood, two more pumpkin ideas from the same designer are worth a look. The Pumpkin Wine Glass Cozy carries the pumpkin theme to drinkware, and the Farmhouse Pumpkin Placemat scales the idea up for a table setting.
For a different take on pumpkin coasters, see our overview of the Fall Crochet Pumpkin Coaster: Intarsia Crochet Coaster: Pattern Overview, which uses a different colorwork approach. If you prefer a cozy rather than a coaster, the Pumpkin Cup Cozy pattern by Vicky Staden: Pattern Overview covers another small pumpkin project.
The source page notes that its photos are the property of Spotted Horse Design Co. and that the tutorial is for personal use only, with a request not to copy, paste, distribute, or alter and claim it. Respecting that notice is part of using the pattern well.